
One of my go-to lenses for just walking around has been a fairly inexpensive (compared to other lenses) Tamron 28-300mm Image Stabilized (VC) zoom lens for my Canon SLRs over the years.
A few weeks ago, the zoom mechanism failed while I was taking some pictures, I was unable to retract the zoom consistently and it would lock in one position.
The lens was out of its 5 year warranty by 4 weeks… figures. If your lens is in warranty, do not do this. Mail it in!
Since we are buying a house, spending $700 – $1000 on a new one isn’t in the cards right now.
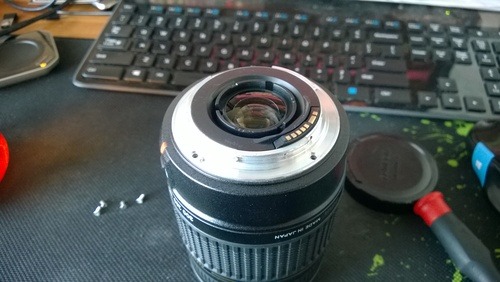
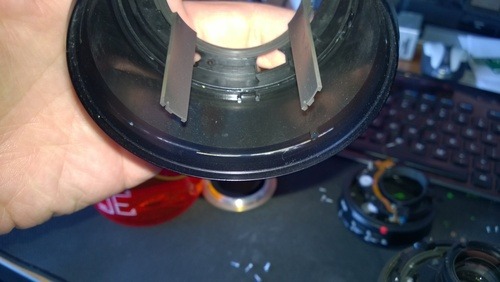
I picked up the lens this afternoon and zoomed it all the way out, you can see the innards of the zoom assembly doing that. I saw what I thought was a piece moving that shouldn’t be. So… I figure “what the hell, I have nothing to lose so lets see if I can fix it.”
I’ve never opened a SLR lens before, and frankly they scare the crap out of me given how intricate everything is. But I went at it logically taking pictures along the way:
My tools:

I have all my R/C stuff next to my desk, so I grabbed a tweezers, a small Philips head screw driver, a flash light, and some lens wipes. The bobby pin? we’ll get to that 🙂
The tear down:
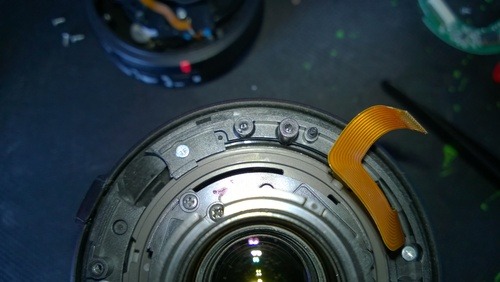
I started by removing the mounting lug, I immediately realized that the electrical connector is a non detachable ribbon wire… break that, and the game is over. There were 2 small screws holding the connector to the mount plate.
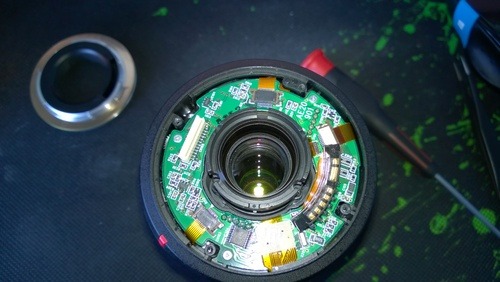
After removing a bunch of shims, we are at the electronics board. I carefully disconnected the 4 ribbon wires that come up from below and removed that board.
Below it are 4 screws that let you just remove back barrel that is right below it.
Once there, the autofocus system is in the way, that has 3 screws holding it, each with a small stack of brass shims under each one. Don’t lose them in the camera.
The auto focus system removed.
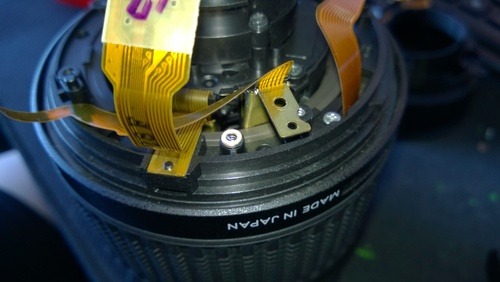
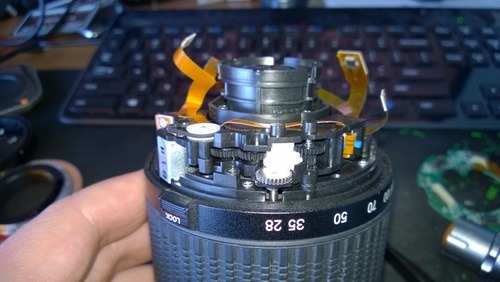
There are a hand full of ribbon wires to carefully guide away from the zoom grip so you can remove it. Remember, you break a ribbon wire, and the lens is junk.
This picture turned out to be very important to realign everything. The center disk rotates independently of the plastic surrounding, which rotates independently of the zoom grip. They all lock into different parts of the lens. If any of them are misaligned the lens doesn’t go back together.
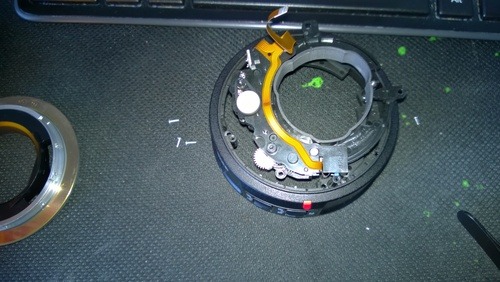
The culprit!
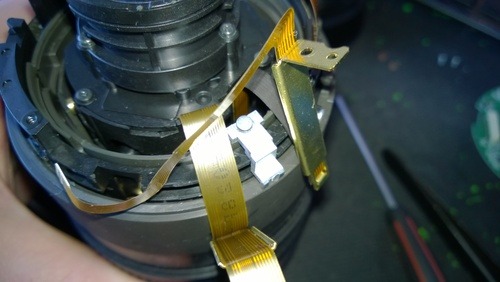
With the zoom grip removed, we find our problem. This silver lug was almost completely unscrewed. This is what moved the zoom mechanism. I just tightened it good.
Reassembly:
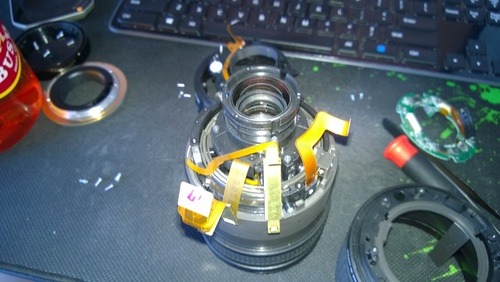
This is where it gets tough. Its always easier to take something apart! Those blades engaged with small brass lugs in the camera. And the zoom mechanism needs to all line up. During disassembly not everything stayed in the same place. So I had to use the pictures above to align everything again. There was some nice scrapes from the lose screw on the zoom ring.
After finding (from looking at the previous pics) the proper alignment of everything I fished the ribbons through the proper gaps in the mechanism. Being very careful to not rip or cut any of them. This is surgeon level steady hand with a tweezers and controlled pressure.

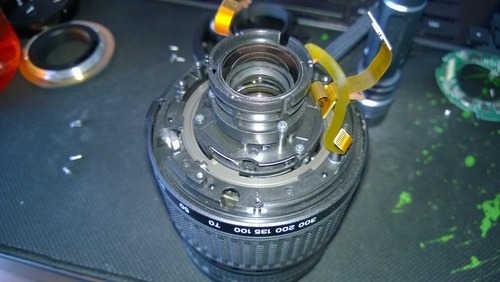
I got the AF system reinstalled and the back ring put on, and immediately something was wrong. The AF/MF switch wouldn’t operate anymore. after looking it became clear there is a clutch mechanism to disengage the zoom mechanism in MF mode. That black 2 step gear to the right of the gear box is the spring loaded gear in question.
The AF/MF switch has a small plate on it to lift the gear up when in MF mode. So to place this back cover back on I needed to some how lift that gear through a very small gap from above while I place the cover on.
Enter… the bobby pin. This is right out of the movie Airplane 2 🙂

With the back cover on the camera. I had to use the bobby pin with a “L” Bend in the end of it to raise the spring loaded gear and slide the AF/MF switch under it. I had to do this through the small gap between that drive wheel for the AF system in the picture above. It worked perfectly.

After feeding the ribbon wires through the various parts, securing everything like it was before, that’s it!
No screws or parts left over, which is always a good thing.
I took the time to blow out the barrel, and clean the exposed optics.
I took a couple pictures and focus seems accurate as before, and zoom is smooth and consistent.
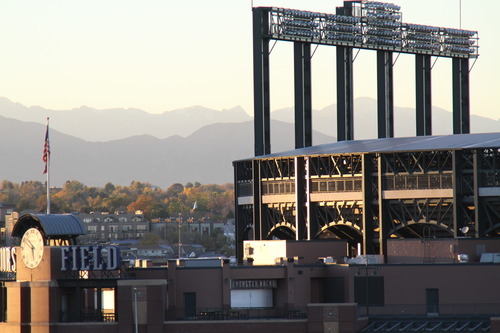
at 300mm:
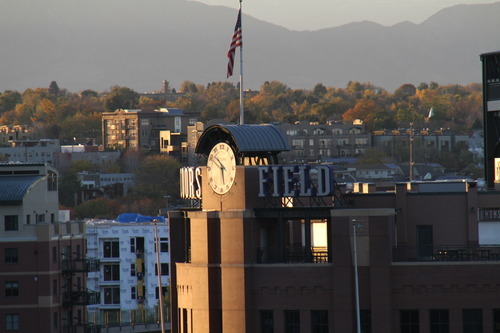
at 208mm:
Not a bad way to save a ton of cash, and it was pretty exciting 🙂
jj
How long would it take to remove and clean all the lenses inside?
Blog Admin
It took about an hour to do the whole task