Finally hammering through a project I started earlier this year, but then put on the back burner. A new hard wired and remote triggered GoPro setup for on the motorcycle. This is my third attempt at this. The goal was to make something reliable, easy to use, and weather proof.
V1: I had a DIY trigger I used a few years ago that I built in this post: http://www.jk720.net/post/9040461577/my-gopro-hard-wire-setup-and-remote-trigger-i The big issue with that trigger was it would lock up a GoPro Hero 2 for some reason. I am guessing noise over the power line, or just in general my hack-tastic skills. And I had no idea if the GoPro was recording or not.
V2: I had a wireless trigger I used a couple years back: http://www.jk720.net/post/38473998301/more-gopro-hacking-wireless-remote-trigger
The issue with that solution was there was enough electronic and RF noise on the bike that the remote wouldn’t work consistently. And I also had no idea what the GoPro was doing on the bike. The enclosure I had rigged up was also not that water tight.
V3: Hoping this is the final one. Which it should be since this wont work with a GoPro Hero 3. (which is why I am using Hero 2’s)
So I did some research and saw that a company I’ve done business before a few times (Cam-Do) had a new hard wired setup that allows for an LED for status of the GoPro. And the setup has some power control and cleanup gear in the puck that goes on the GoPro, different from what I did in V1.The part I ordered is on this page: The USB charging with LED remote. http://cam-do.com/wired.html

This time I am using a special water/dust proof toggle switch with an LED built into it. This is a $20 switch from Digikey so it isn’t cheap by any means, but its big enough to be used with gloves on, and has a nice central status LED. http://www.digikey.com/product-detail/en/ILR3FAD2L0Y/679-3223-ND/3478709
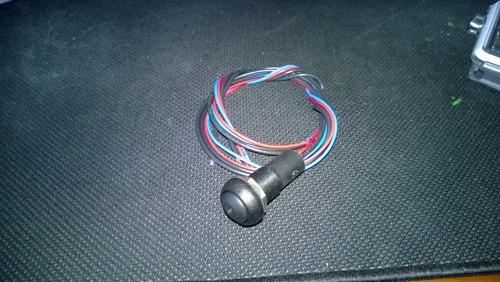
The remote ships with a camera shutter release as the mechanism for triggering the GoPro. It’s big, bulky, and not water proof. So that is why I replaced it with the fancy switch above. ( you can order the remote trigger without the camera shutter release for a discount if you email them)
The LED will turn on when the GoPro is powered up and recording, giving me easy access to see when its doing stuff and when its not. I mounted the switch on a techmount plate I have on the handlebars. Just had to drill a ½" hole in the aluminum plate.
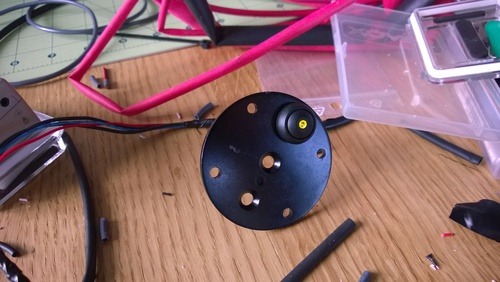
The LED requires 2.1v , and the voltage out from the GoPro is ~ 4v. So a 100ohm resistor was placed in line to act as a current limiting resistor and also to drop the voltage down to the proper level.
I also picked up some extra extended rear doors for the GoPro enclosure that have a side button (meant for the video bacpak). I used a dremel to expand the side hole for the button and use that as the waterproof wire exit. This is more elegant than what I did in the V1 or V2 triggers. Still using black RTV sealant plug the hole and give some strain relief.
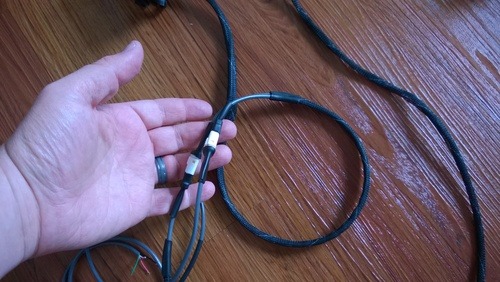
I am also using JST – JWPF 4 connector water resistant connections for everything, instead of hacking USB plugs like I did previously. These plugs are water resistant, and sealed. I packed the inside with dielectric grease as well to increase their water resistance.
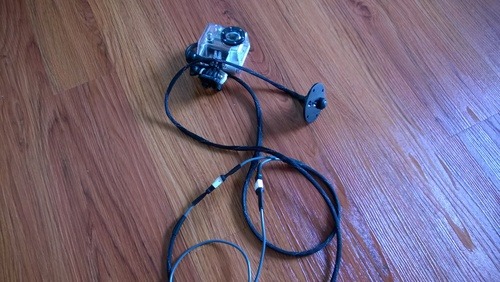

I also used double wall shrink tube with adhesive on the inside to seal the ends of the high temp, anti abrasion wire loom I wrapped all the wires in. Not only does this act as strain relief on the wire, it also gives the setup a very refined look.
On the bike, I have setup the trigger/LED wire and the Power wire as Male/Female, and made it so that I can connect them together when I am not using the camera to keep water and dirt out of the connection. The pin arrangement is such that nothing will short when I do that.
The final install:

The tech mount had to be adjusted to be on an angle due to the length of the switch. But in the end its easily accessible from the cockpit. The empty space on the mount will be used for something else coming up.
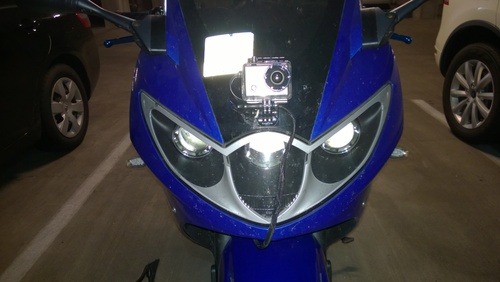
The wire goes down the front and tucks up under the fairing neatly. The loom makes it look like someone who knew what they were doing made this.
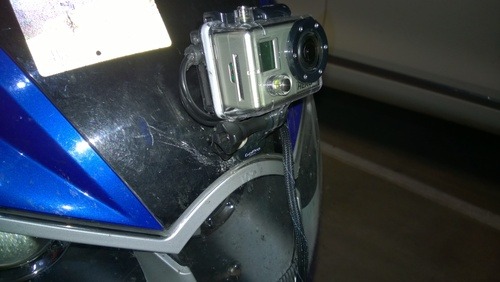
And the camera unit when it is off the bike:
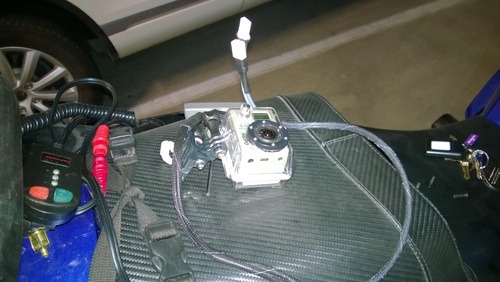
That’s it! Took a couple nights of work to get this all put together, but in the end it should be more reliable and more functional than my past experiments 🙂

Leave a Reply