Over the last 7 years I’ve had a webcam of some sort looking over the areas of Denver we’ve lived. For teh last 1.5 years though the camera has been down as we moved to our house and worked to figure out how to get a camera in a position that works, and also work on the technology I used for this.
First camera I put up looked out over Denver from our 29th floor apartment in the heart of downtown. Below is the video from the 431 days it was up:
Below is a saved time-lapse of a large storm that rolled through in 12/2011 in Denver:
Then we moved a little bit away and for 3 years we had a camera looking out over the ballpark. The below video is 841 days (one image a day) while we lived there:
I also recorded the construction of an apartment building next door at that time:
In both cases, these cameras were USB webcams secured to the inside of a window in our apartment. They had a long 20ft USB cable and some serious hacks (multiple virtual machines, USB to Network converters, etc…) to make them work for this purpose. They were temperamental, prone to crashing, and overall a real PITA to keep working. But since these were apartments there was no reason to invest time or energy into permanent solutions.
The New Camera
We moved a in Oct 2016 to our new house and finally got around to getting a new camera up. We don’t have any downtown views from where we are now (3 miles out of town down) but we do have some good sky and mountain views.
First goals with the new camera was for it to be simple, and using much more efficient technology. I built and installed a home security camera system around the outside of our house. All PoE cameras, hard wired, and using Blue Iris as an NVR on a dedicated PC. This is FAR cry from where I was the last few years.
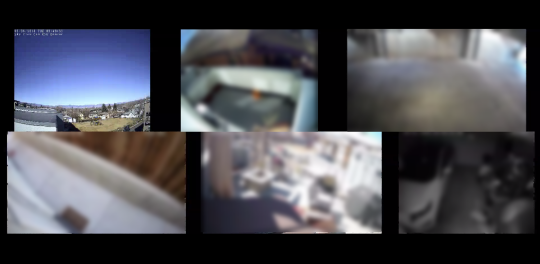
We now have 6 (sometimes 7 if I am using my 3D printer and monitoring it) cameras running full time. One of them is dedicated for this blog (the Sky View camera on the upper left). This is a view from the Blue Iris system that runs all the cameras.
The Camera
I bought a cheap $49 3Mpix PoE camera that has a Sony Exmor/Starvis sensor in it to give some solid range in day and night. I bought 2 of these from HDView on Amazon… since I figure for $49 they will die over time. The rest of our cameras are higher end and 2 -3x more expensive 4Mpix PoE cams.
This gives a native resolution of 2048×1536. For this site, the resolutions are cut in half to 1024×768 to save on file size.
A note about security… all of these Chinese cameras are prone to exploits and vulnerabilities. All of mine are firewalled off from the internet and only talk to the NVR server. Exposing most consumer grade webcams to the internet directly is a recipe for disaster. Practice safe computing.
The Mount
To keep the camera in place, I had to fab a mount for it. My goal was a no-puncture mount that can go on our roof to avoid me drilling holes or doing any permanent damage to our roof. It had to be weighted, solid, and handle weather.
So I went to Home Depot, bought some pressure treated wood and went to work:
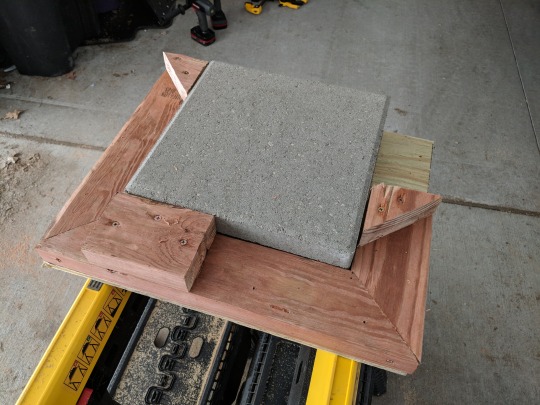
I designed it to be low and solid, using minimum of wood, and holding 2 12×12 pavers for weight. Then I hit it with some black paint to match our roof:

I mounted the camera next. Even though the connections are waterproof, I wrapped them in electrical tape to give a bit more resilience to water and weather.
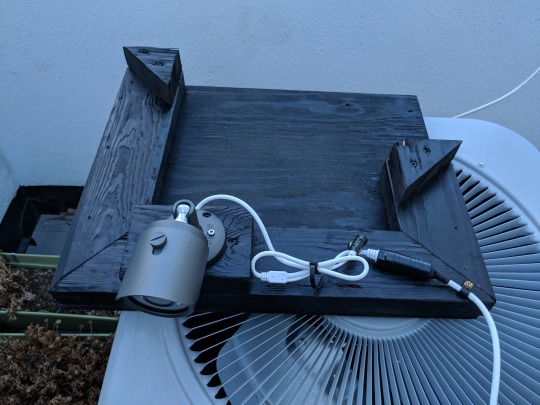
Then the next step was putting it on the roof and setting the field of view.
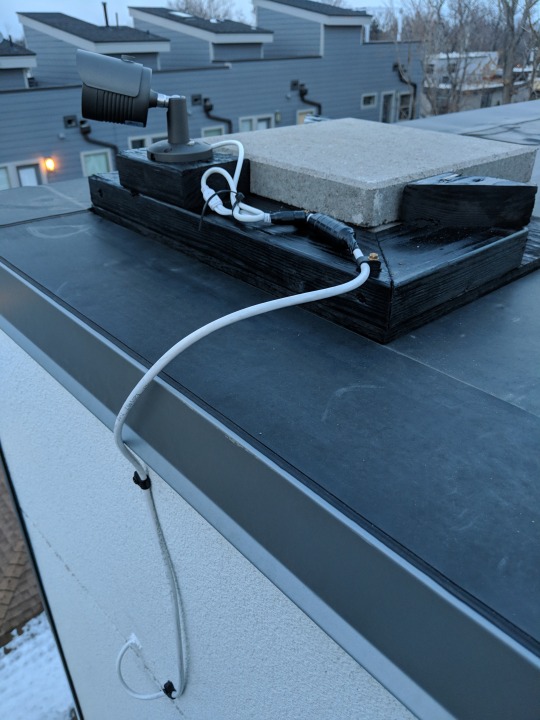
I ran the CAT6 cable out through the wall and secured the cable.
Total time from starting to cut the wood to getting the camera up and running on the roof was 4 hours. It took a few days to get the scripts and stuff done to get it published to the blog, but it was a fast project.
The View
The resulting view is:
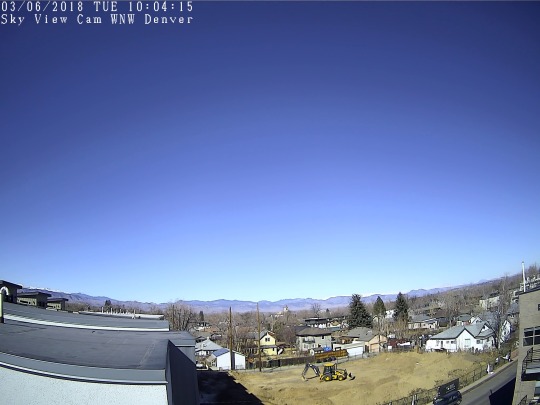
With the camera in its final location, it is now ~ 45ft above the street, and with a clear shot of the sky and the mountains. It is also framed to capture the construction site across the street as they are building some new town houses.
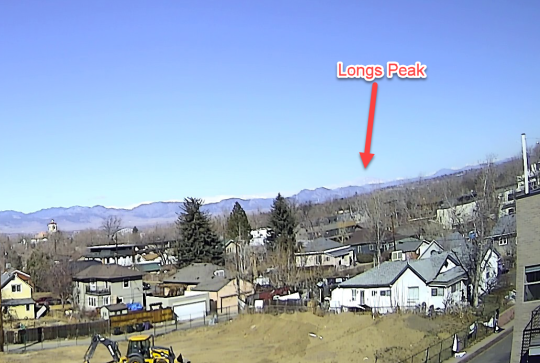
The very wide angle 2.8mm lens makes the mountains seem small, but from here you can see Longs Peak up in Rocky Mountain National park. It’s snow covered so it’s hard to see on the camera right now:
We had crazy winds and gusts of up to 60Mph yesterday and the camera handled it better than most of our patio furniture. Not as much as even a shake seen on any frame of the timelapse from yesterday. Check one of the first 24 hour time-lapse views below and watch the winds whipping the trees around:
I will post another post about the scripts and processes I am using with Blue Iris and other tools to post and compile the time-lapse.
The time-lapse and stills being uploaded to the site are done every 30 minute for a 24hr time-lapse loop, and every 5 minutes the still image is updated.
You can find the latest views at: http://www.jk720.net/DenverCam

Leave a Reply