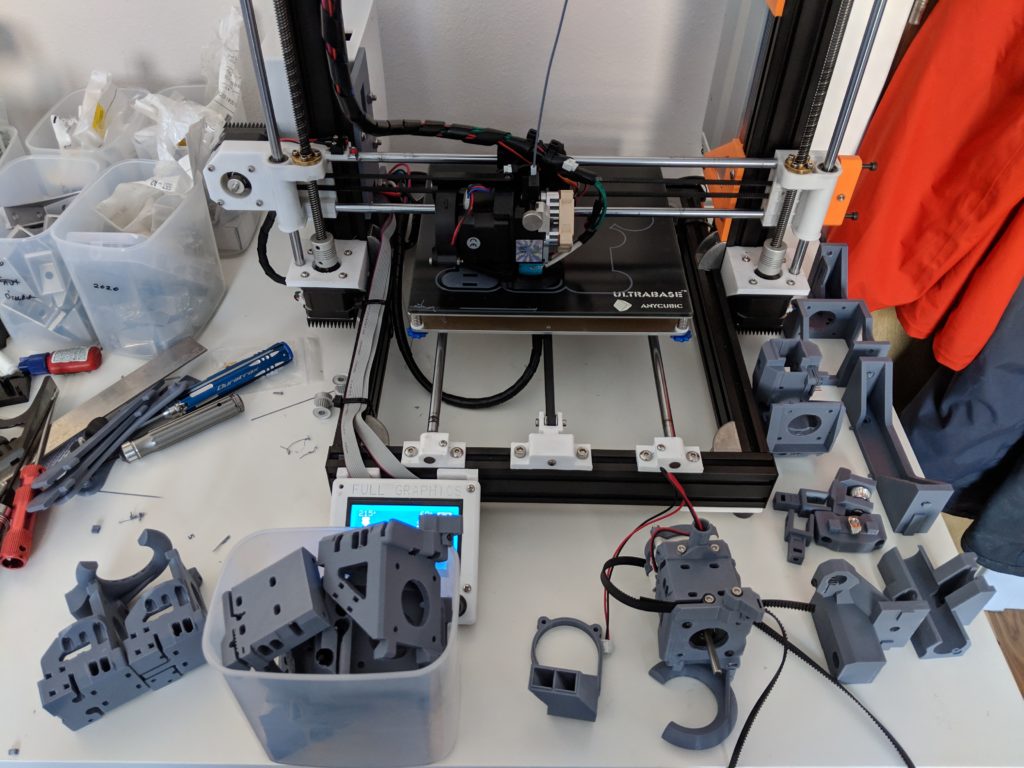
After a week or so of non stop printing (the printer has run from the time I wake up till I go to sleep for ~ 10 days now), I am finally rounding out the last test prints and tweaking. A full spool of PLA has been consumed in this testing. The X-Carriages were the latest parts to go through the ringer.
X-Carriages:
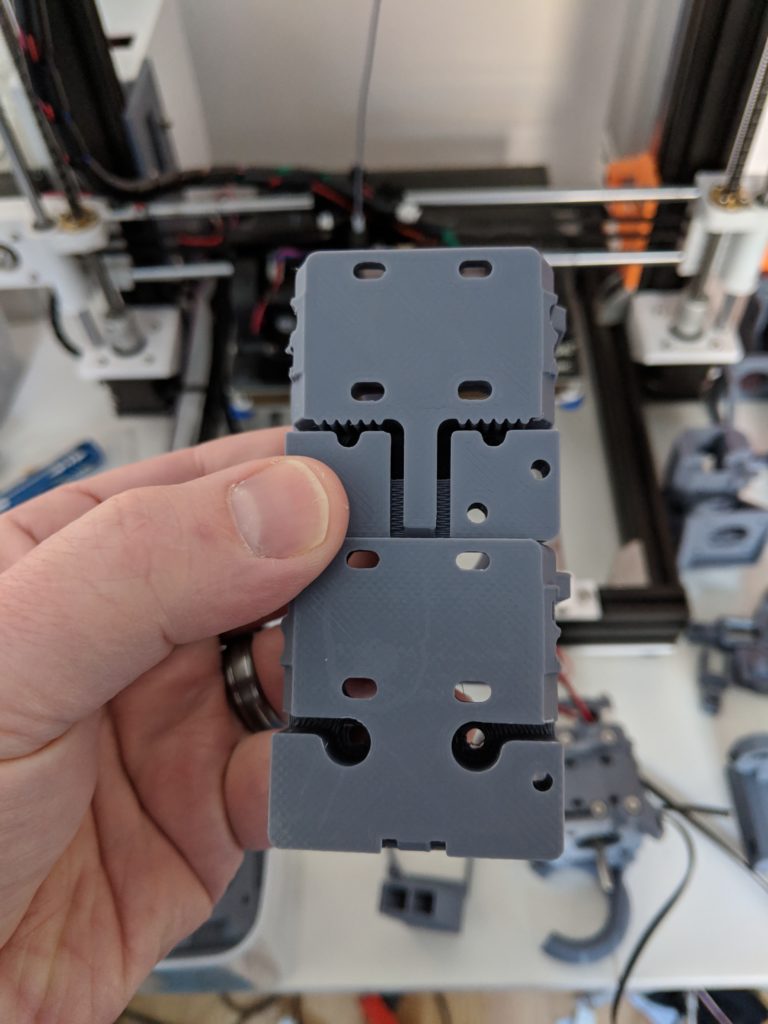
Main changes I had to make to both carriages:
- Updated belt routing through the carriages to accommodate the updated pulley and belt paths
- New belt locking design to make it less prone to coming out
- Added a second bracket on the open side of both carriers to further stiffen the motor mount
- Added a mount for the Hall Effect magnet for the end stops
- Added square nut placements for every screw that goes in – I am not a fan of threading into plastic unless it’s necessary.
- Added a wire routing/holder attachment on the top to guide the wires up and back out of the gantry.

New Belt path designs validated in CAD 
2nd reinforcing bracket on the right side 
The Hall Magnet holder acts as a belt retention and spacer, the other belt lock has a spacer under the screw to hold everything in place. 
Full mockup (w/o extruder) to validate fitment and belt locks 
Initial tests of the fan ring duct alignment to verify the CAD results. They shouldn’t be this close in use, but if the carriages do touch the fan ducts wont.
Z-Axis Bed brackets:
I’ve also verified the Z Bed bracket configurations, and have test printed the Z Bearing holders and upper bracket. I need to work on the lower bracket still and the the bed ACME Screw nut mount.
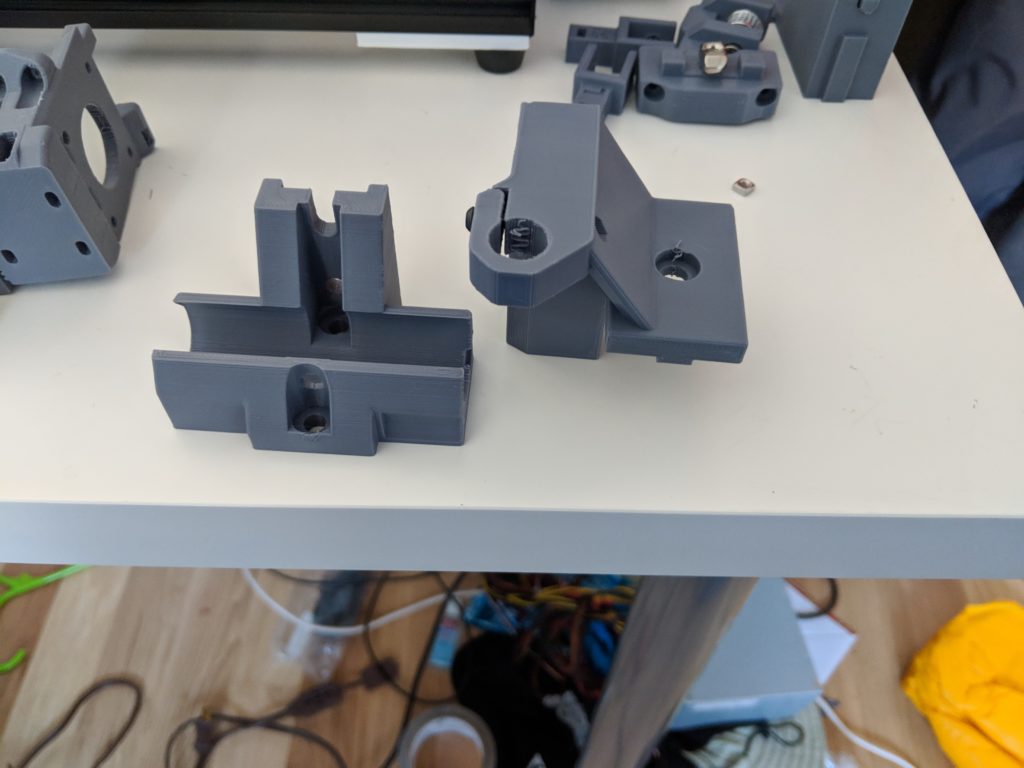
The bed components I am using are all modified HyperCube EVO designs. The designs have been updated for fitment on a 3030 rail, some clearance issues, and over all strength as they were designed for a smaller printer with a lighter bed.
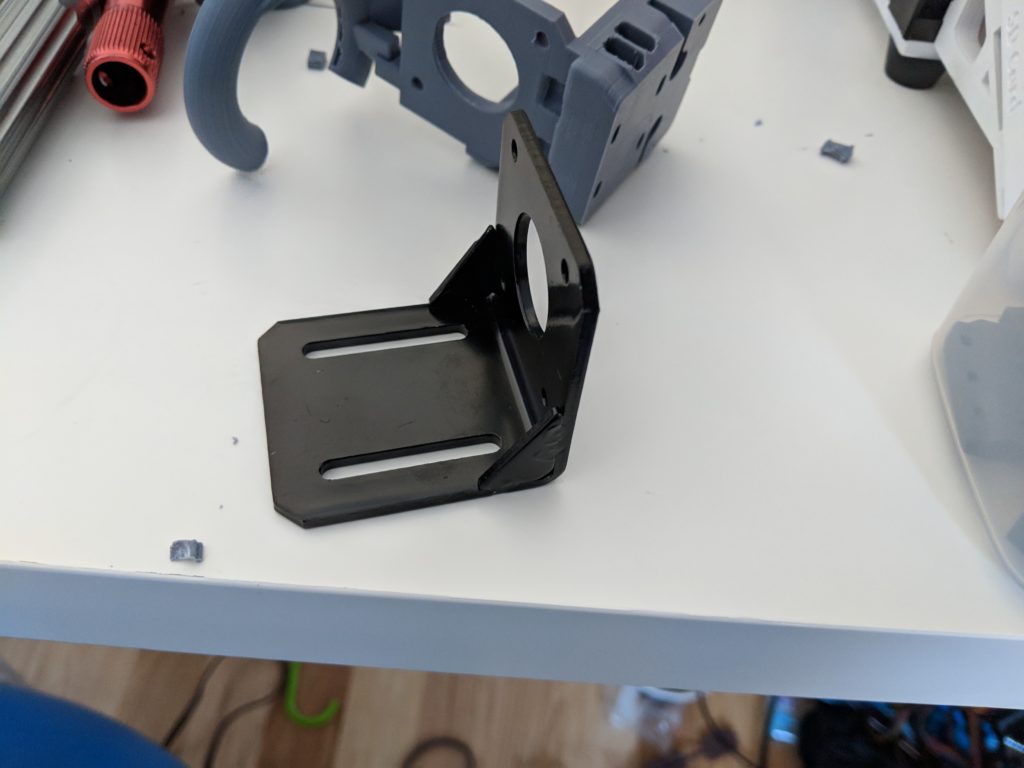
For the lower Z motor bracket, I am using a pair of steel brackets I have kicking around. Given the weight of the bed, Either I was going to print some beefy mounts… or … just use these brackets I already have. I have 4 of them and I am going to compare them to find the 2 that are the absolute most true. I still need to design/update the upper end of the Z Motor setup, where the Z Nut goes.
Materials
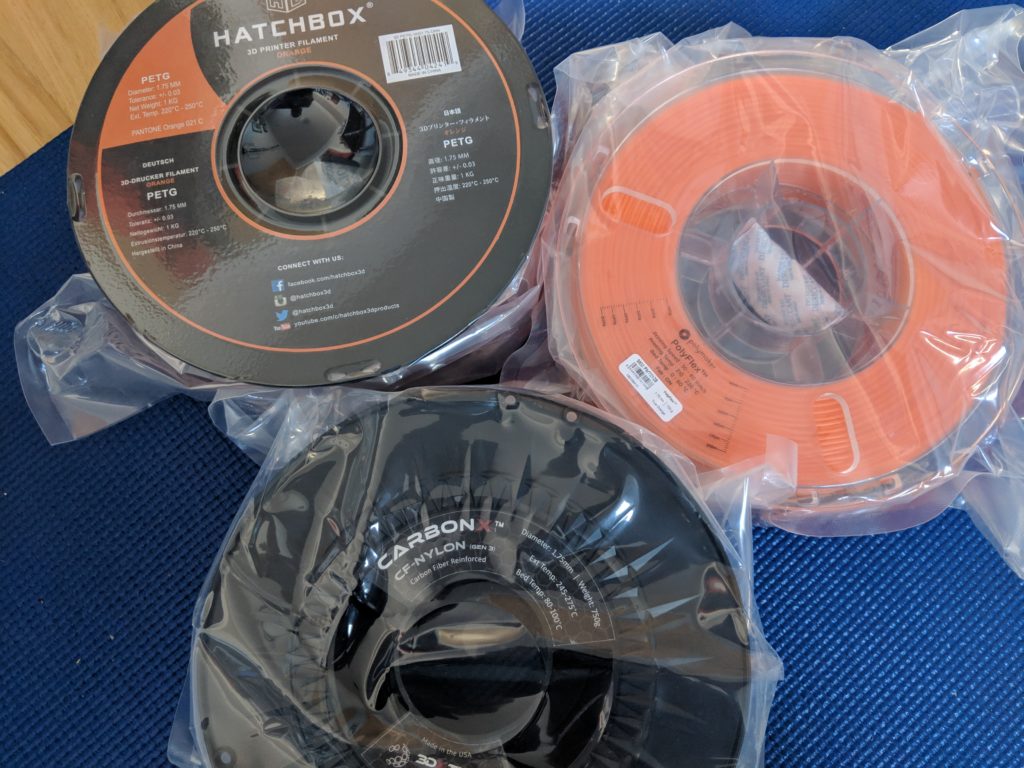
I have the spools of filament in for this project:
- 3DXTech CarbonX Nylon – for all structural/stressed parts
- Hatchbox PETG (orange) – for all non structural add-on parts (Hall sensor holders, Fan ducts, electronics mountings, etc…)
- Polymaker Polyflex (orange) – for wire routing components to give some flex to those mounts.
I’ve used a full new spool of PLA printing roughly half the new printer (maybe 2/3 given the repeats and multiple copies of some parts). So it could be tight on material for the CarbonX. I am going to print the highest priority items with the CarbonX first, and if I run out of that filament, I have another spool of cheaper eSun CFPA (Carbon Fiber Nylon) that I can use for some remaining parts… or just order another spool.
Because I am going to print with Nylon for days I am finishing prints for a spool holder to go in a Rubbermaid 21 cup container, and a Bowden setup to feed the nylon to the extruder without leaving the spool exposed to the open air. Nylon is very hygroscopic, and will absorb enough moisture from the air in a day to ruin prints even in Denver’s dry winter climate.
I also have a dehydrator setup to first dry the filament fully before it goes into the rubbermaid container.
Because all 3 materials are going to be very unique in how they print, I am going to focus on parts for each material one material at a time. Calibration prints, fine tuning the slicer settings, etc… I am leaving the nylon for the last part just due to the complexity of that material.
Printing Order:
- Use the .3 Nozzle and print the PETG and Polyflex parts first.
- Use .4 NozzleX (hardened steel nozzle), and print the carbonX.
Linear Motion: Genuine HiWin Rails
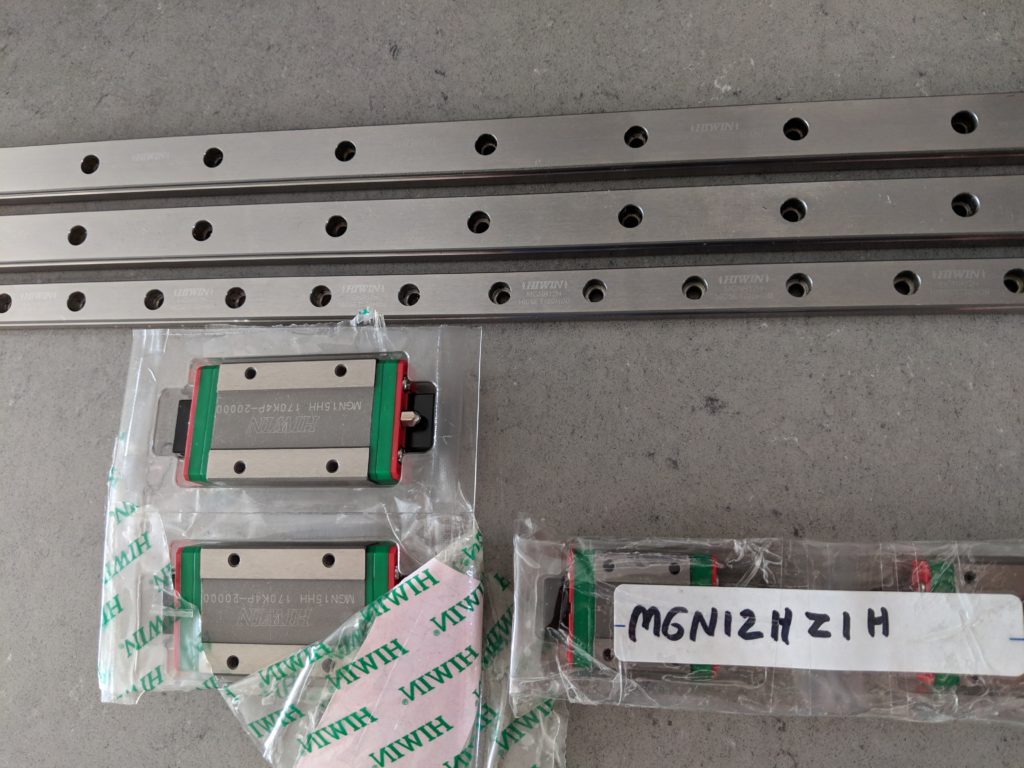
The linear rails that will be used for the motion system came in. These are a small fortune in materials, but these are some of the most consistent and true linear rails of this type you can get. These are for the X and Y axis. The Z Axis will ride on 4x 12mm round bars (hardened, and high precision ground) with round linear bearings.
The MGN12 blocks were mis labeled and the vendor is sending me the proper long MGN12 blocks I requested. (the short/standard blocks are there).
Construction starting soon:
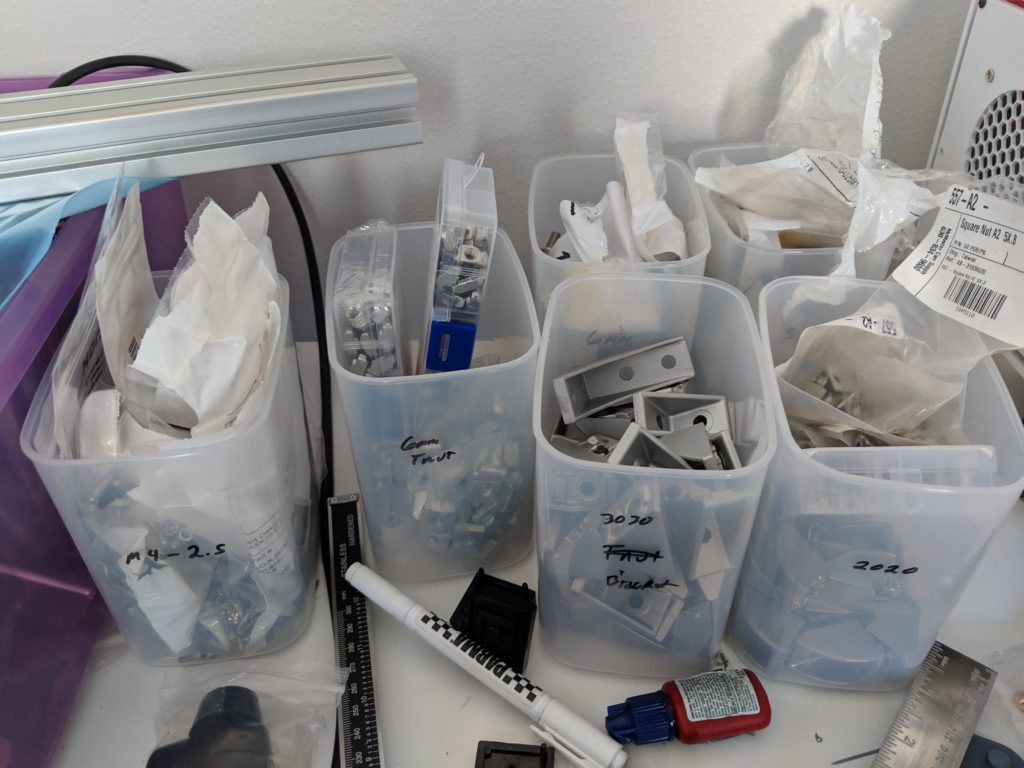
I have one or two shipments of screws, fixings, and extrusions coming in in the coming days. Once that is all here, I will start building the frame. This is complicated a bit by the build order of the frame and system (top down in this case), and needing to have some of the plastics ready to go by then… so I may just get the cube put together and need to wait for the 3D printed parts to finish before I really start building.

Leave a Reply