
Happy New Year! With the end of 2020, and the cold months rolling around there isn’t much to do other than watch TV and fret about what 2021 is going to bring. With that I am trying to fix and remedy small things that have annoyed me for months. The primary one is my AV/Media cabinet under our TV. So I took this last few days to print solutions to annoyances in how that cabinet was setup and also take some time to flex my 3D design skills and printing hobby.
I am also planning a pretty significant upgrade for certain parts of the printer I cant actually talk about yet due to NDA and Beta testing I am helping with.
First – Fix the printer
After not using my printer for a couple months I noticed a stepper or a pully failed and developed a very uneven resistance on the X Axis. After doing some testing I found the pully has worn out on the X axis, and the U Axis (the other end of the IDEX X axis), and the X-Axis stepper bearing developed a bad spot.
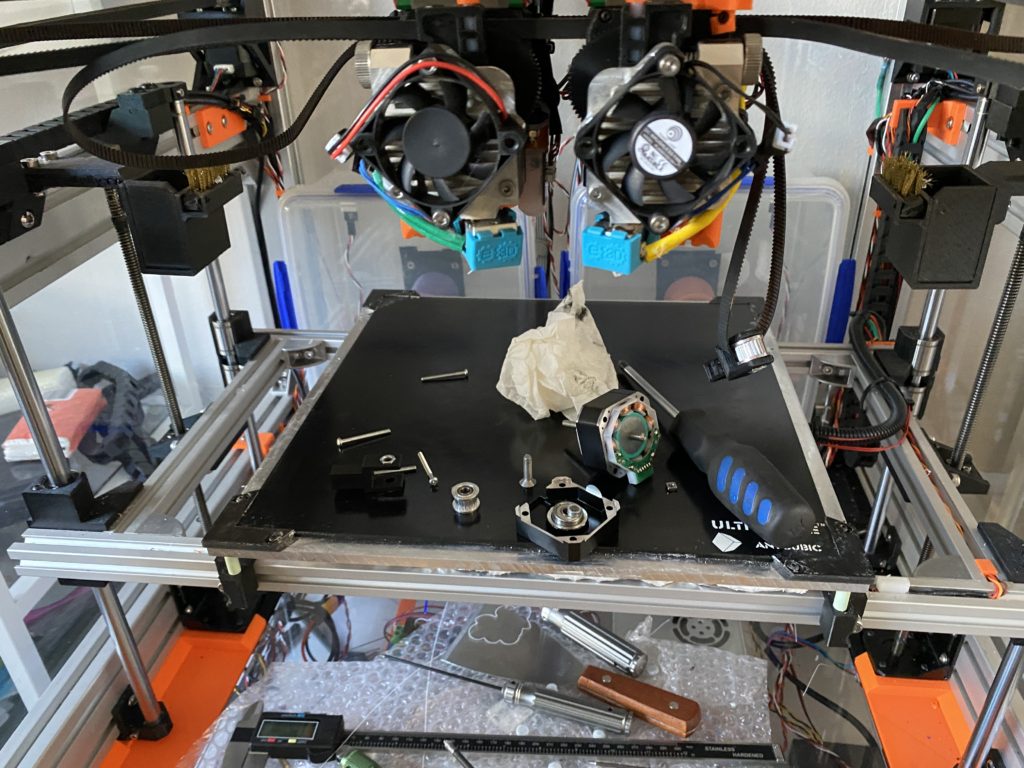
Taking the axis apart
Because of how the X and U axis stepper are installed they can only be removed from the bottom by taking the steppers apart (to avoid taking apart the entire gantry). After some testing it was clear the pullies and one stepper were worn. This stepper specifically (An E3D compact but powerful) is an older one I had from a past printer so it had more time on it than any of the others. I replaced it with a like motor but I do have 2 LDO motors to try swapping in eventually to try out (lower induction).
Once I finished fixing up the printer and getting it back to tip top shape I started on my winter projects.
AV Cabinet bits
Xbox One X stand
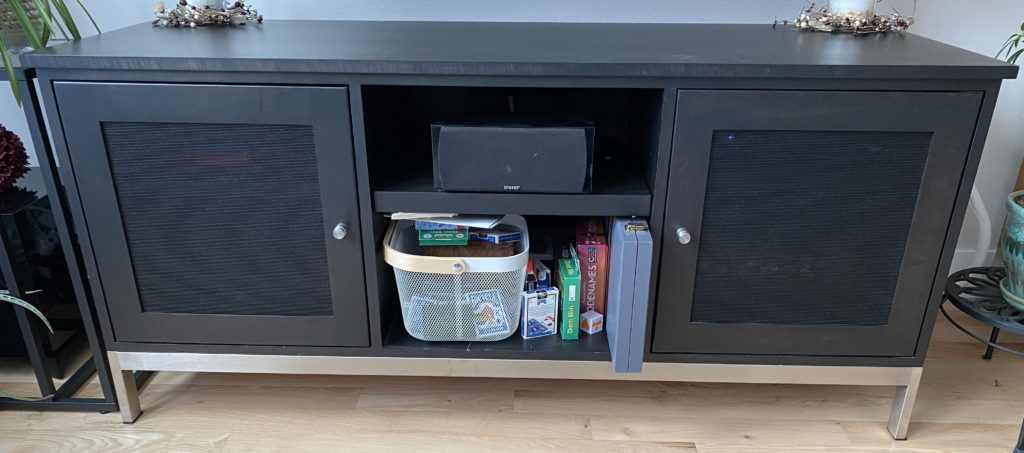
There is a new Xbox out already, but I am in no rush to get it right now so I figured I would make my current Xbox One X run a bit better. The AV Cabinet has holes cut in to run wires, but they were not enough to keep the Xbox cool during gaming and meant I had to have a fan in there, and keep the door open. I was tired of that cluttered setup and realized if I moved the Xbox to line up with the wire cut, the Xbox could vent all the hot air directly out the back.


The stand was overdesigned, and very strong, but works well. Printed in black PETG it turned out great. The Xbox runs cooler when gaming now than it does idle and in standby (because there is no airflow from the back during stand by). it also keeps the Xbox light hidden when the door is closed to the cabinet.
Closing the other wire holes
The same hole that I used to keep my Xbox cool, I wanted to cover up on the rest of the wire holes so we cant see the wall behind the cabinet. This is a Room and Board custom AV cabinet, that doesnt have have any provision to block those holes from being seen. So in 15 minutes I designed some clip on covers that give air flow and let wires run in and our but block it from letting light through.


the Vero 4K in use


This was also printed in black PETG and worked very well, now the cabinet shows no light from behind the cabinet. I printed 4x of these to block the openings we can see.
Hanging up the wires
While closing up the back of the AV cabinet, I wanted to get the wires up off the floor that we can see from the couch. So I quickly designed up some hooks that will hang off those wire holes to support wires on the back. These were quick prints and worked out great!


Cooling my Vero 4K
One of the last annoyances was the HTPC/Media device we use for all of our media playback (A Kodi box running OSMC – a Vero 4K) is that it has heat management issues and I had a 120mm USB fan blowing on it all the time to keep it from crashing.
I had some leftover 40x40x11mm heatsinks from a past project so I designed up a replacement back cover that opened up the air flow, holds the heatsink in place and pressures it to stay fixed on the SoC chip that makes all the heat. (you can see it in place being used in one of the above pictures as well.

The updated back case design requires the Vero to sit “upside down” with the heatsink facing up, but works great completely passive with no fan. there are 2 screw holes to mount a silent 40mm 5v fan if needed though. I posted the design on Thingiverse: https://www.thingiverse.com/thing:4705631
I printed this in black PETG as well, I wouldnt use PLA for something like this as it does get quite warm and PETG can handle it.
My Vero sits above our AVR which makes a good bit of heat, and the Vero never gets over a reported 170F for temp and has been stable without a fan.
With that all the little annoyances of my AV cabinet are fixed. 2x fans removed, no more light coming in from the backside of the cabinet, and the Xbox running cool and quiet now.
Retiring some skis, and putting them on display


I have 2 local Colorado made Icelantic Nomad skis from ~2013 that I recently had the bindings removed, but they have some neat graphics on them. So I designed a wedge style bracket to hang on the wall to hold them. I printed it in Marble white PLA I had and the skis slide right in and hold solid. I also printed up caps for the screw holes to give it a nice clean look. Now these skis are art on my office wall. The angles and sizes are very specific to these skis so I didn’t post the design to thingiverse, but I may.
Up Next?
As I mentioned at the start, I have some part testing I am doing as part of a beta program and am looking to do some upgrades to the printer coming up. I am also looking to do some design work on new print head mounts to accept E3D Hemera extruders, but also with an eye on how I could retro fit this printer into a IDEX tool changer.