Over the weekend a lot of things got done, and a lot of things got started. Having my phone camera out of commission has limited some of the pictures I am taking through the project; new phone should be here today.
It’s a milestone!
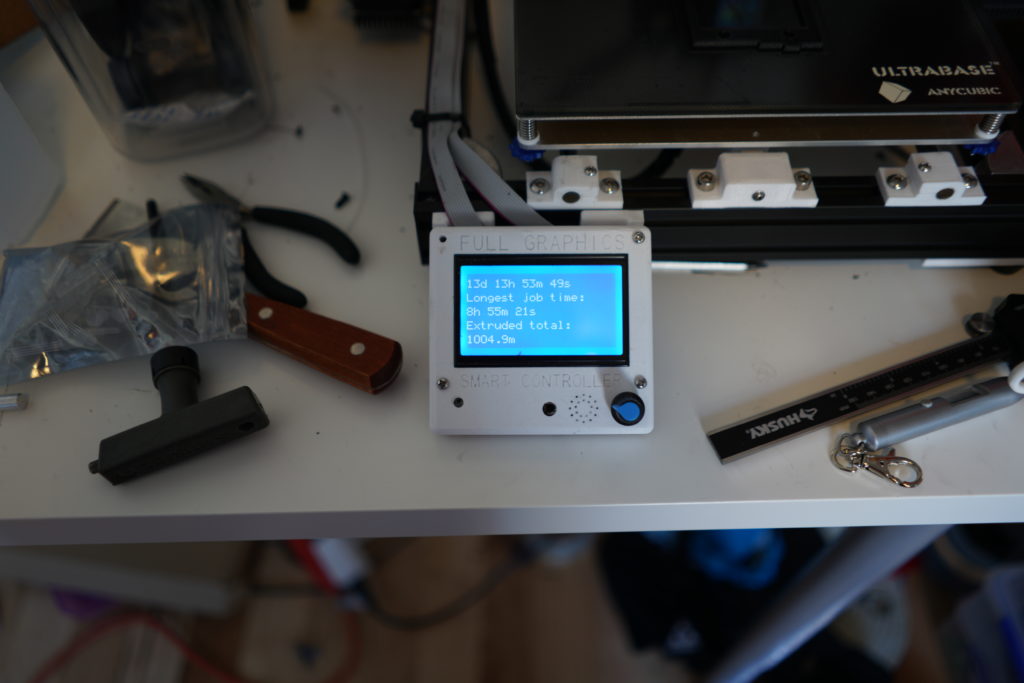
Updates on printing stuff:
After a flurry of successful printing, I am down to only ~ 10 parts to print (mostly all for the Z Bed). I finished the fist spool of CarbonX at the last print of the lower Z Hangers. Finished with under 30″ of filament to spare. Everything is looking good so far on the prints I have completed.
I do need to pay better attention to detail on what I am sending to the printer, I printed 4x the lower hangers with an old STL that had the wrong hex nut size punched into it… So I had to re-print them. I also printed a not finished left Y Axis motor mount bracket that isnt chamfered like the Right one is. This should have zero effect on the printer so I am going to leave it as-is for now.
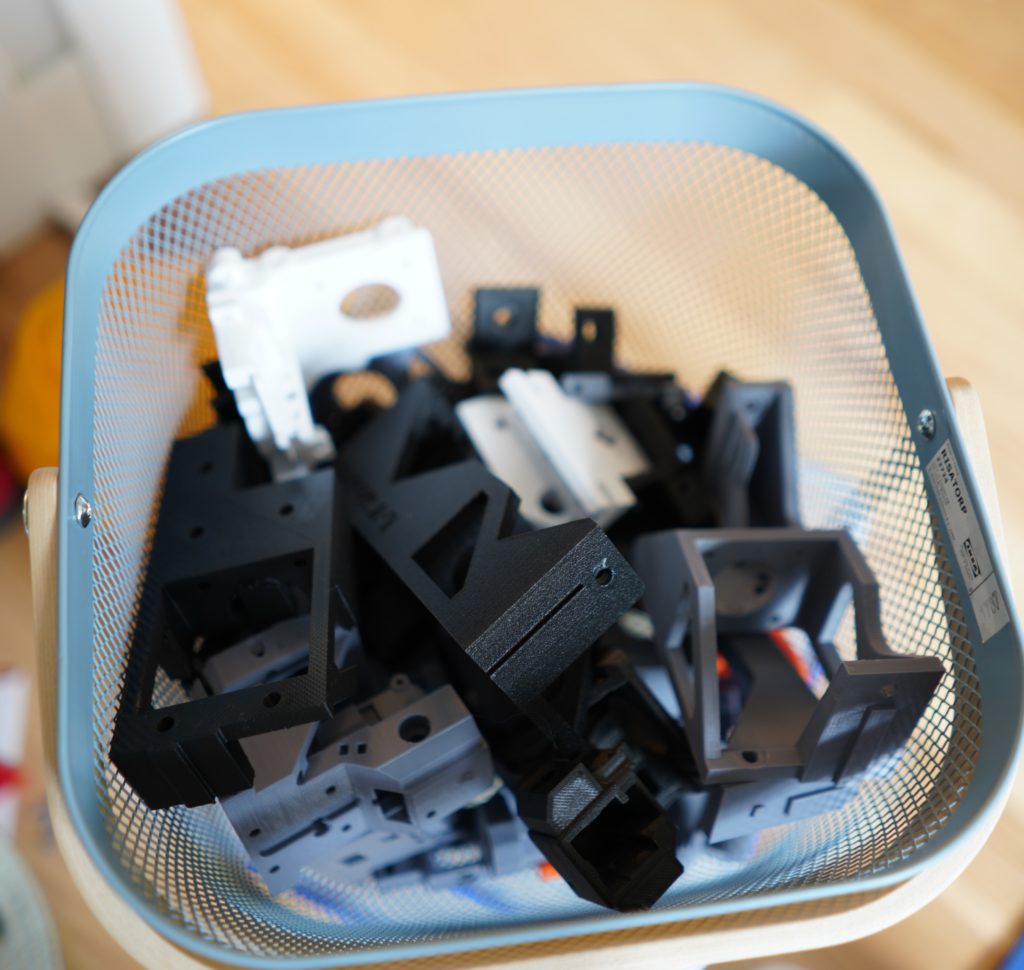
Here is a pic of the bucket of test/failed/mistake prints:
New filament troubles:
I ordered a new spool of CarbonX, which has been printing just amazingly (when its not jammed in the nozzle – Turning off retraction entirely fixed that). The new filament came on a newer style looking spool, different label, and actually had different temperature recommendations on the label (5C cooler). That was a concern.
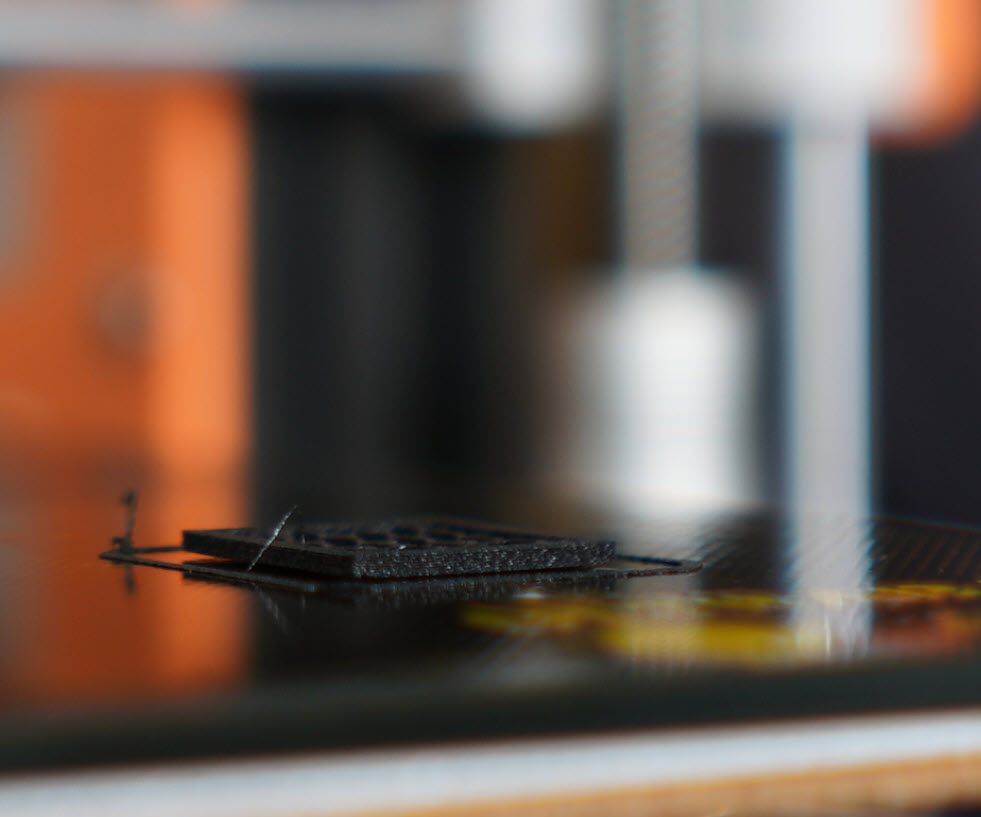
On first print, the part peeled up off the build surface like a bow tie by the 3rd layer. This is NOT how the other filament printed… I damn near needed pliers to remove prints before!.
I am going back and forth with 3DXtech to see what the deal is and what kind of batch inconsistencies they generally have, and what did I print with before? From looking at the lot number codes on the back, I believe the spool I printed with first was ~ 1 year old, the new spool reads like it is only weeks old.
I am going to do more testing on the new filament to see what the secret is… but I am concerned about the difference in mechanical properties in something that behaves this much different. The material also seems more matte than the original stuff.
Going to flash the firmware on the printer to let me go above 270C (it was a low stock limit that I left on it), so I can see if hitting the first layer at 10C above recommended will get better adhesion, also bumping the build surface to 100C from 90C.
Update: Did tests all the way to 285C with 110C bed… still won’t stick. Tried the best case scenario of Kapton/PA tape (which I have a spool of 4″ stuff) which should work great… and in the pic above you can see, it just peeled up. This was on a 20x20mm test, and by layer 4 or 5. If I let it go or if it was a bigger piece it would have just fallen completely off. Pretty sure I am going to be asking for a refund on this filament… nothing about it seems like the nylon I was printing with.
I have a spool of eSun PA-CF which is lower end, but could work for the parts I have left to print.
Electronics:
The running of wires on this printer has been something I have been putting off thinking about until I got the structural things done. But I am realizing a lot of how I set up the printer will depend on where the electronics boards are going. Based on some work I moved the entire printer up 40 mm on the 4 corners to give more room under the printer. I left a margin at the top to let me have clearance for cables and bowden when I put the cover on it (not going to design that part until after the printer is complete so I know the height I need) After some playing around in CAD, I figure they will go under the printer.
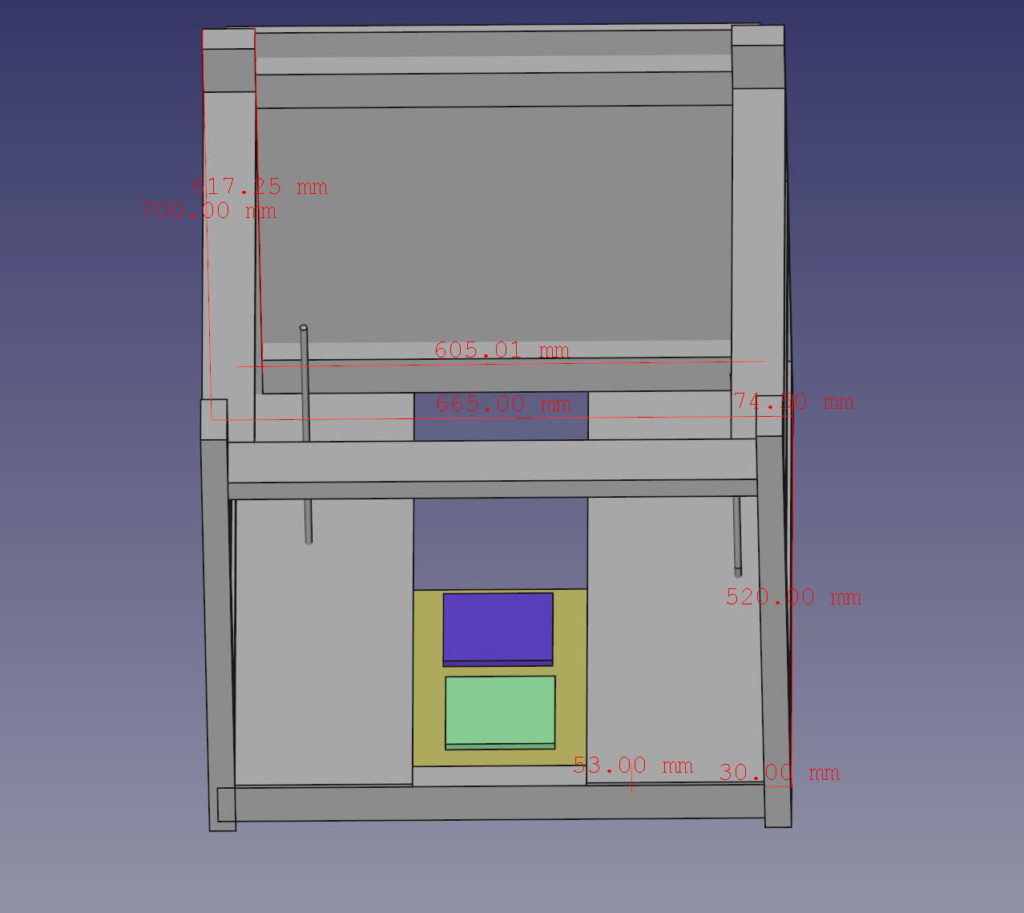
This printer will have a Duet2Ethernet, and Duex5 controller boards, powered by a 350watt 24v PSU (Heated bed will be Mains voltage so no need for a big PSU) I am going to mount the Duet and Duex and any other PCBs to a sheet of HDPE 12×12″ under the printer. it will be suspended by standoffs from the Acrylic/Polycarbonate sheets that will cover the bottom of the printer volume with a center section that can be removed to give access to the boards. The PSU will be bolted to one of the bottom sheets as well.
This will let me mount and test all the electronics on a board before it gets put in the printer. I will also fab up mounts for the Duet and Duex to have 40mm fans blowing across and under them to cool them. Being on the bottom of the machine gives them plentiful access to cool air.
From some basic measurements I believe I will need a few 2M+ stepper motor wire runs for this printer, could require me making the cables myself (which isnt bad, there are some nice ultra flexible cables out there I could use, and may do anyway).
I also printed in clear nylon (I was cleaning the nozzle and figured I would use some of the clear nylon I was using) some LED holders that will go on either side of the X Gantry and one below the heat bed to show the status of both hot ends and the heat bed at a quick glance (Blue =cool, Purple = Heating up, Red = Hot) I ordered the project boards, transistors, and wire to get this all wired up. I need the LED and their holders in place before I can assemble the X Gantry. I’ve been reading on the RepRap code to and Fan headers to use on the Duex to control these essentially, 6 LEDs)
I have orders coming in all week for electronics wiring, components, and some random odds and ends I needed for the project. I am guessing at this point the printer won’t be printing until end of April, but its ok, this isnt a race 🙂
This also let me draft out the Acrylic/PC panels for the printer to enclose it. Turns out 24×24 sheets will work for 3 of the sides just fine.


Leave a Reply