Limited progress overall:
So in the last few days, a few things are conspiring against this project. Not only am I still working to figure out WTF is going on with the CarbonX filament I received, but Amazon has seemingly stopped delivering stuff to my house (as seen on my twitter feed, my interactions with them about this, I wont post it here, but click the twitter link on the right side bar to see). So I am waiting on quite a few things.
For the CarbonX, I have tried roughly 2 dozen tests of various settings and I can’t get the new filament to do anything but curl. This leaves me wondering what filament I had for the first batch if this is the real stuff, or what this filament is. So far 3DXTech has been helpful to an extent, but they cant provide many answers yet. They did tell me the batch numbers for the first spool make no sense… so that’s reassuring. Figuring out what I printed with originally is vitally important as I need to know the temp/mechanical qualities of what these parts are. I did pick up some PVA based glue sticks to give that a try after I am done with the electronics mount.
Update (3/21): it seems they have either gone on vacation or ghosted me… we’ll see…
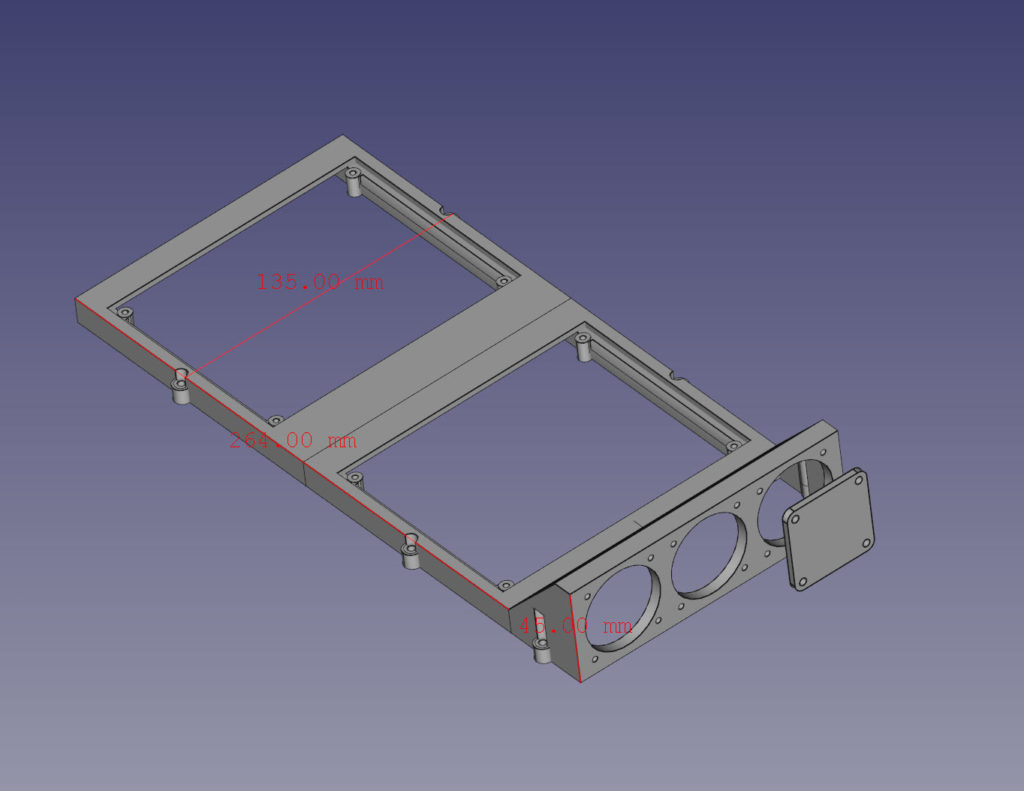
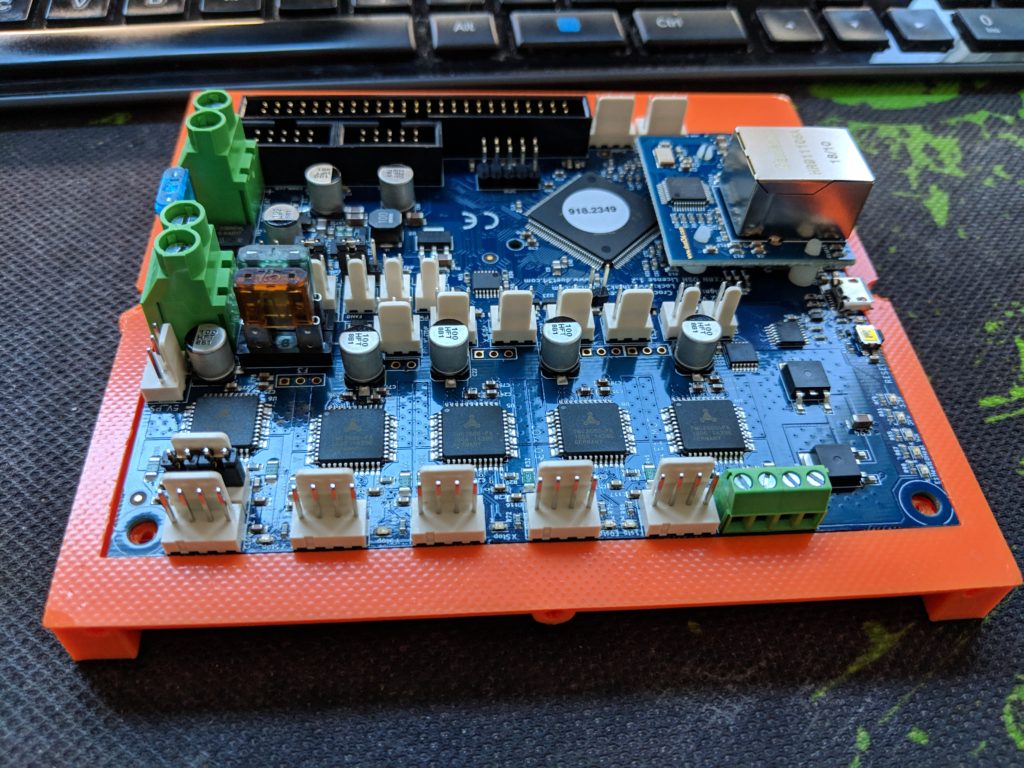
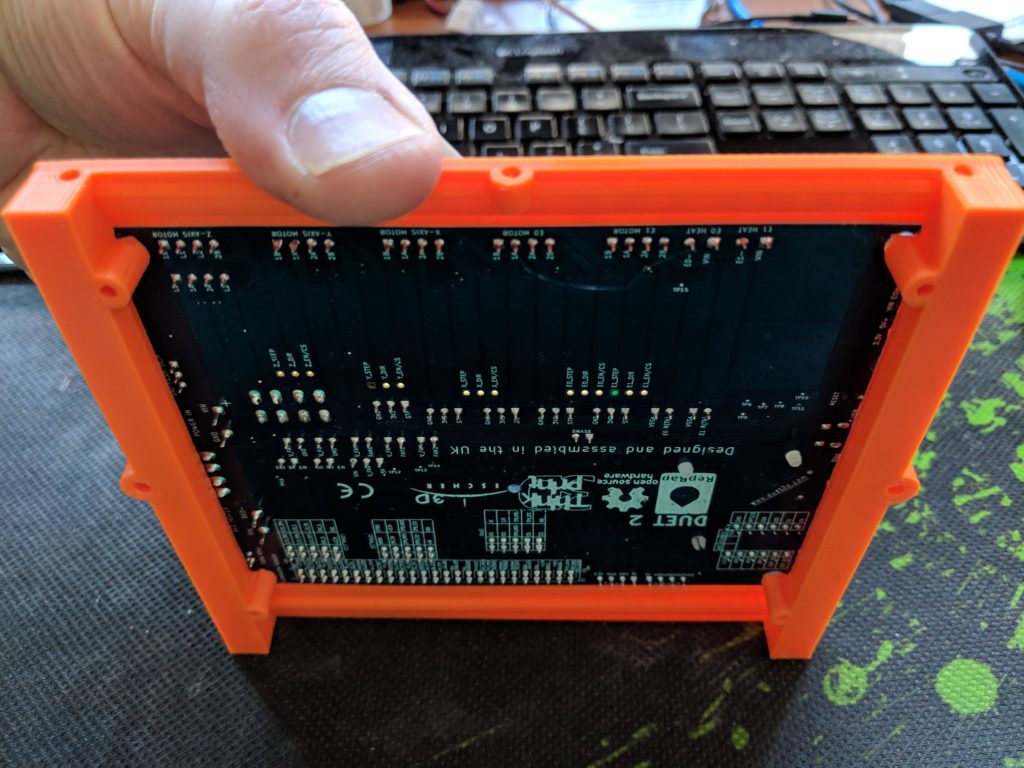
One thing I did hammer out, is the Duet/Duex mounting and cooling system!

I designed it to send a good amount of air under the boards, and sunk the boards in so they are level with the airflow. The setup of modular, so if you have just a Duet, or a Duet and Duex, you are good to go. There are places for 3 40x10mm fans and a blanking plate if you don’t need all 3. The whole setup is almost exactly 12″ long so it fits on a 12×12 sheet of material.
I will be placing this on a 12×12 sheet of HTPE (if Amazon delivers it), but you can use virtually anything. The bottom plate is what seals in the air duct.


Only aspect that I should tweak is a gap for the USB port. Currently I dont think a cable can get into it without loosening the board a bit. But… with the Duet you shouldn’t need a USB cable after the initial setup anyway.
This will give full access to both boards, easily and quickly, while keeping them secure, and well cooled. There will be a clear plexiglas/PC/Acrylic sheet over them when installed under the printer.
Once I finish printing all 3 parts to test them, I will post this mount to Thingiverse. I think total print time for all 3 main parts comes to around 9 hours (on my printer). It’s broken up into 3 pieces for it to be modular, but also can be printed on any standard 200x200mm build surface.
Sequential vs All at once printing:
So one thing I learned to love in Simplify3D is sequential printing. With the CarbonX filament not being able to have retraction, printing multiple parts at once can yield some real bad surface quality if the head is jumping between parts. So I started leveraging sequential printing. Where I place the 2 or 3 parts on the build surface in a way that it gives clearance for the printer to finish one part, then move to the next part and print it entirely, then move to the next.
Also if the printer develops a problem (jamming, run out of filament, power failure,etc…) you only ruin one part, no the entire batch.
It’s something to look into if you are looking for better surface quality and frankly, faster prints (less movement time.)

Leave a Reply