Happy holidays and New Year to everyone (or that one or two people who actually read this).
After getting back from back to back trips I had a few more items on my checklist to get done on the printer. Most of it was further fine tuning, calibration and cleaning up of Gcode/Macros on the Duet. But it also included installing some new parts to the printer!
Magnetic Filament Monitors
A month or so ago I ordered a set of new Duet3D Magnetic Filament monitors. (As seen at this link: https://duet3d.dozuki.com/Wiki/Duet3dFilamentMonitor_RotatingMagnetVersion ) These are the new generation of filament sensors from Duet that came after their laser sensors. The laser sensors struggle with certain filaments (or flat out wont work) but have the perk of not adding any resistance to the filament flow. They are also lighter than the magnetic ones.
The magnetic ones use a rotating magnet and a small hob inside to track the movement of the filament. I have 2 because I have 2 extruders.
I used the CONN_LCD port on the Duet2 Ethernet as all the other end stops were already used. You can’t use the Duex endstops for these. Both monitors share the same +3.3v and Gnd pins then have their own signal pin going to Endstop 10 and 11. I used 2x 3 position connectors and taped them together with some spare Kapton tape I have.
I positioned the filament monitors by the filament spools – this is not the best practice for these as they should be close to the extruder. I didn’t want to run more wires to the extruders, and didnt want to add more weight to the X and U axis. From testing and looking at calibration data for stiff filaments like PETG, PLA, NylonX, and even PVA the sensors work fine. For TPU/TPE and fine layer printing it will throw errors, so I have a script that puts them into disable mode for those filaments.
I am using these more for filament run-out and serious clogging detection. So I set the tolerances pretty far to avoid false detections. I did need to open both sensors, and sand down the idler bearing mount to make it slide smooth or it imparted a ton of resistance to the filament. After that it was smooth with barely any noticeable additional resistance.
The sensors themselves have nice LEDs on the edge (the reason they are angled the way they are) so you can see communication status and filament movement status on each sensor.
From a quick test run these are the reports you can get to check calibration. This was when printing with TPE/PVA so the numbers are a bit off mainly due to the small amount of filament used.

If you run a M122 command on the Duet2 you will also now see Filament Sensor readouts in the diagnostics. I believe this is new as of 2.05 firmware.

Pause/Resume edits
Because I now have sensors that can dynamically pause the print if filament runs dry or a clog happens I needed to update the Pause and Resume routines on the printer to ensure the job can be restarted with minimal impact to the print.
For the Pause routine I have it doing the following:
- Perform a minor .5mm retraction
- Drop the Z Platform +30mm (well raise the head technically…)
- Drop all the tools/hot ends to a standby temp of 100C
- Deselect the tool (running the macros as part of that, and should home the active head)
- Move the Y Gantry over the priming buckets
For the Resume script:
- With no tool selected I ensure the heads are both in their priming location/homing locations
- Resume the previous tool (which frustratingly doesnt give an option to run the tool macros)
- Resume previous tool temps
- Do a 15mm prime in the priming area.
- Performa Resume Location with a 2mm offset Z offset below at 200mm/sec
- Perform a small .5mm prime of the head (testing this to ensure no gaps at the start)
- Raise the Z to resume its location and resume the print
Only issues I am fighting with is some complexity of some filament changing macros I run resetting the tool temp and causing issues if I don’t realize it on the resume. But that is just a process thing. So far I’ve purposely run out of filament twice using up old spools and could not see any indication of a filament change in the print.
Dissolvable Supports
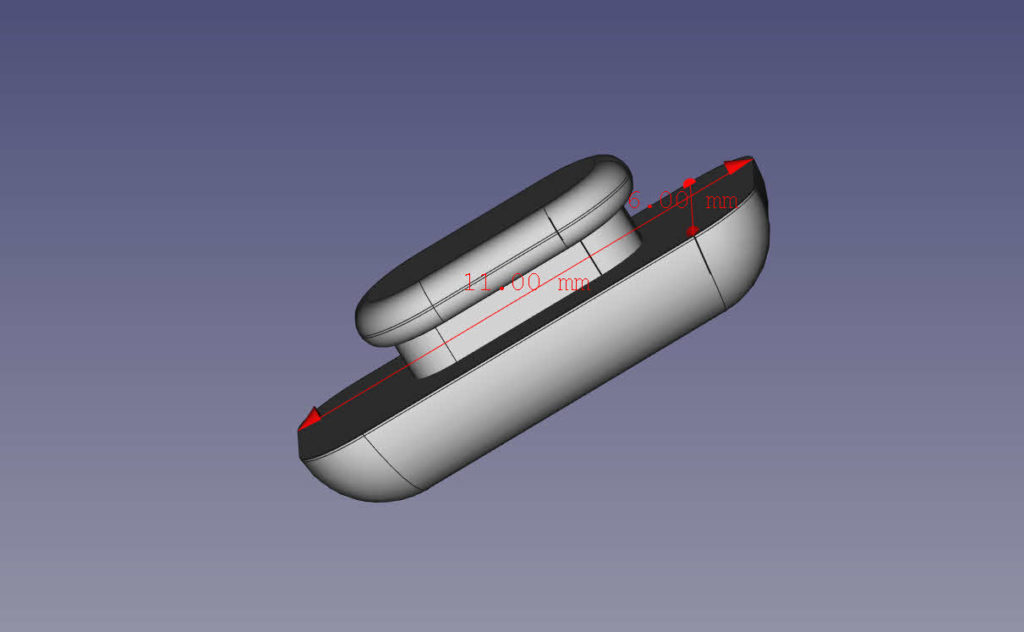
This week I ran into another problem, I lost a small silicone nose pad for a set of glasses I have. Now I am emailing the mfg to see if they can get me a replacement, but I figured why not see how precise and small I can print with this printer. (still printing with .4mm hardened steel nozzles).
I designed up a replacement based on the sizing of the silicone pad I had left.

The sizing of the pad and tolerances would definitely push the boundaries for the printer. Especially given I was going to print it in super soft TPE that I’ve had kicking around for a few years. I originally printed it with the pad side down and it worked, but it wasn’t very comfortable (too many edges).
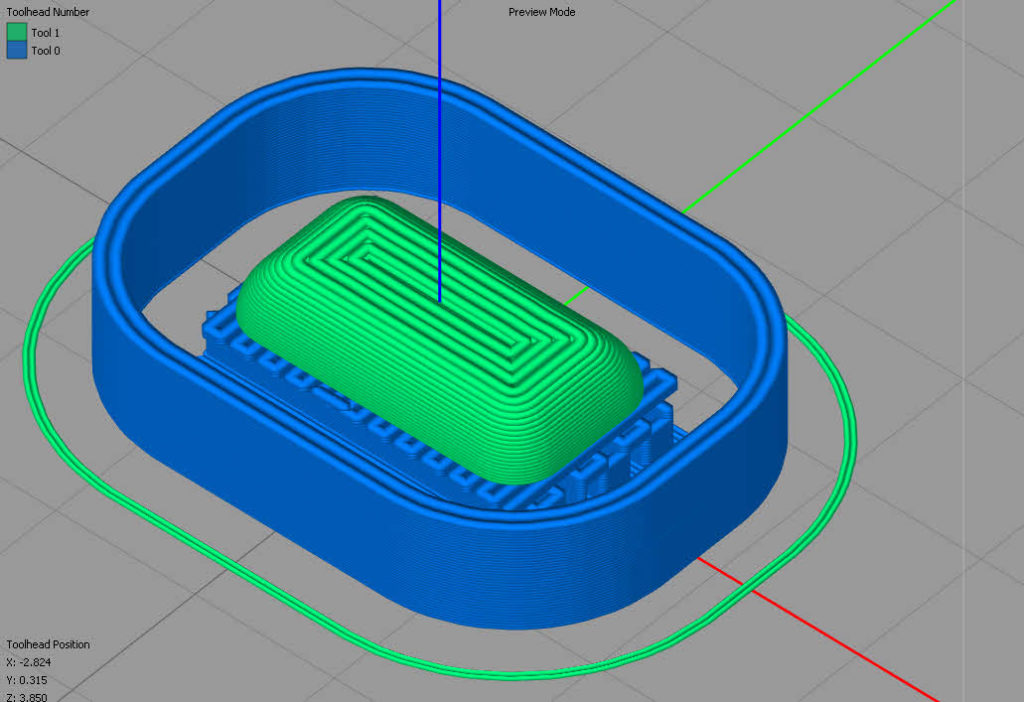
So I figured that I have a spool of Matter Hackers PVA support material and have never used it… why not see if it works.

I set the layer config to .1mm layers, I wanted to go to .05mm but the TPE wasn’t too happy with that kind if print, quality actually got worse (not due to resolution issues, the printer has a Z resolution of .001 or finer with 1600 step per mm Z) . I left the model with enough air space inside to make it cushy. The print speeds were allowed to drop down to 10% of the rated speed of 15mm/sec to ensure the quality of this very fine and delicate print. TPU/TPE also appreciates that kind of speeds 🙂 Movement speeds were still at 200mm/sec.

Off the print bed looking at the bottom, you can see the TPE inside the PVA support 
After 1.5 hours in a warm glass of water 
After 1.5 hours in a warm glass of water 
Fitted to the glasses.
With both pads installed (for symmetry I wanted both replaced) the glasses fit as good as ever and hold where they should be. They are nearly impossible to tell from the original article. And I printed a few extra to have them on hand.
This part was one of the smallest and more delicate things I’ve printed, with one of the most difficult filaments I print with, using a new process and new support style I’ve never used before and it all worked out great! This is a testament to the qualities of the Titan Aero extruder and the Duet2 controller to make such a consistent and exacting print.
Extra Bits:
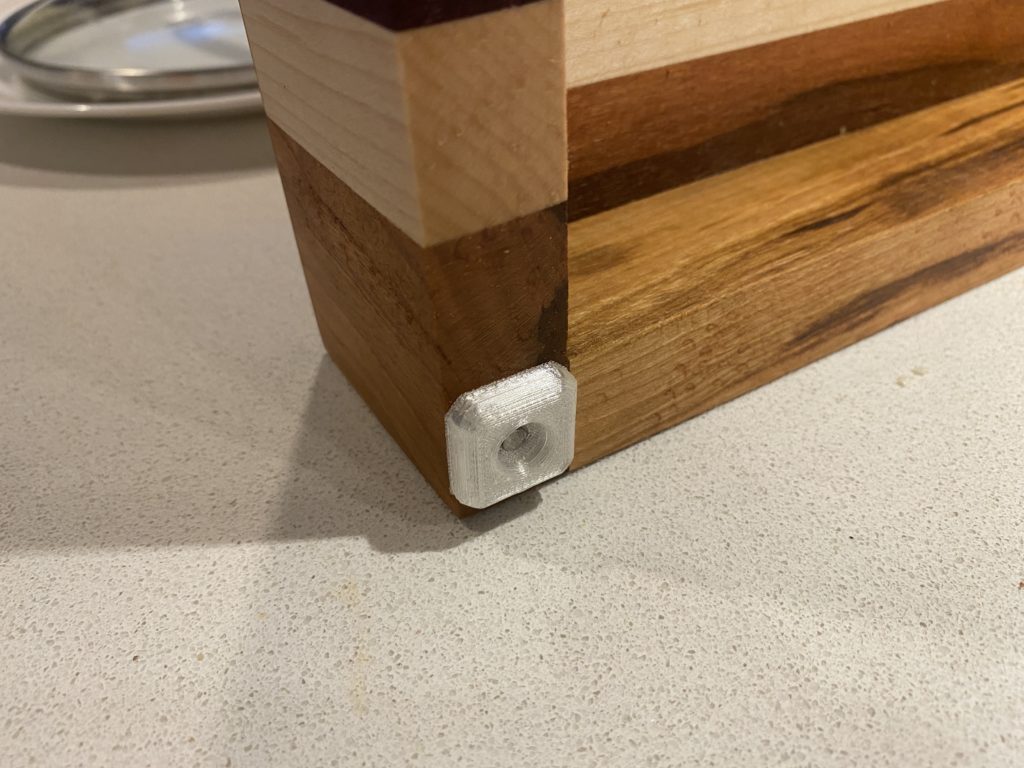
Since I was already printing with TPU, I fired up a quick design for some feet for a new cutting board a friend made us. 5 minutes to design the feed, 45 min or so to print em.

Up Next? I have plans this winter to design up new X and U axis mounts for a potential upgrade to E3D Hemera extruders, and also changing the mounts to be interchangeable for the addition of a Laser engraver/cutter attachment. I just grabbed the Hemera CAD files and files for the laser diode I want to use to start drafting something up.
I have some small things for the kitchen the wife has asked for as well that I am designing to print up. I was designing my own phone case, but I found a case on the market that did everything I wanted for my new phone so … that project has been put on the back burner for a bit.


Leave a Reply