
After printing PPE for COVID for months it seems I am back to printing things for various projects around the house. This ranges from parts for my motorcycle, garden sprinkler accessories, templates for power tools to use, parts for the K40 laser cutter, and more. (Note: I will have all the designs posted to Thingiverse once I verify functionality and ensure they work as expected)

Printers final resting home
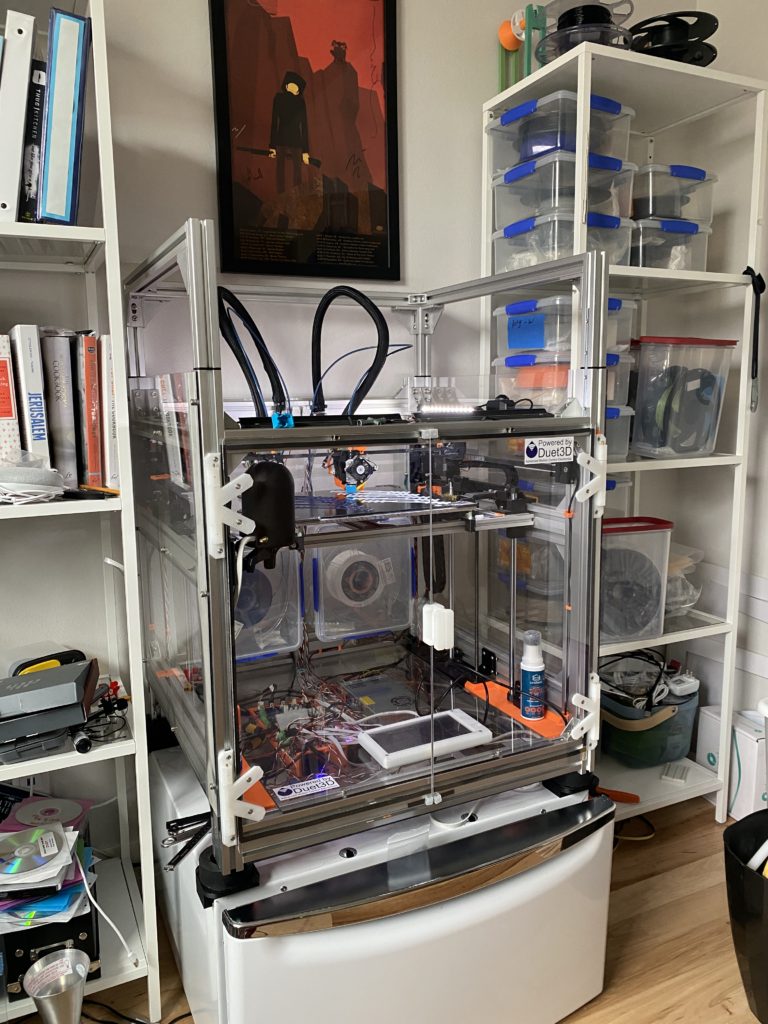
After a long time of sitting under a table or on our dining room table, the printer is getting into a form as a permanent fixture in my office. Along with its new location, I ordered the remaining polycarbonate to finish enclosing it as as you can see in the pic above, the upper aluminum frame is already installed. The control panel is in its no enclosure and will be mounted to the frame at the top when the rest of the enclosure happens.
As part of this I ordered 2x 140mm Noctua fans for the top of the top of the enclosure to manage temps. I will write up a whole thing about the temp management portion in an upcoming post. But that leads us into the first of the projects I printed for around the house.
Rotozip hole cutter
Because I need to install 2x 140mm fans into an expensive piece of polycarbonate, I wanted to be sure not to damage the plate but also get a nice concentric circle cut. I’ve used rotozip cutters for PC in the past and it has worked well and left a nice finish. Rotozip makes a compass to cut a circle, but it has a very bad set of reviews, and since its anchored in the center at the end of the cut it can kind of go crazy. So I thought up a way to do this while also reinforcing the PC while it is being cut.

Design work 
Final print


So I did some measurements of the “foot” of the rotozip and made a a shuttle of sort for it to follow an outer ring in a profile to cut an opening just about the size of the 140mm fan. I printed this in cheap PLA that I had and am trying to use up. PLA is stiff enough for this and if I damage it I am out like 2$ in materials. The foot for the rotozip locks into the plate and should give a nice clean cut. I will know this weekend when the rest of the PC plates get delivered. This was truly about a 1 hour design job in Freecad and the first print looks like it will work perfectly.
Motorcycle 12v to USB QuickCharge 3.0 box
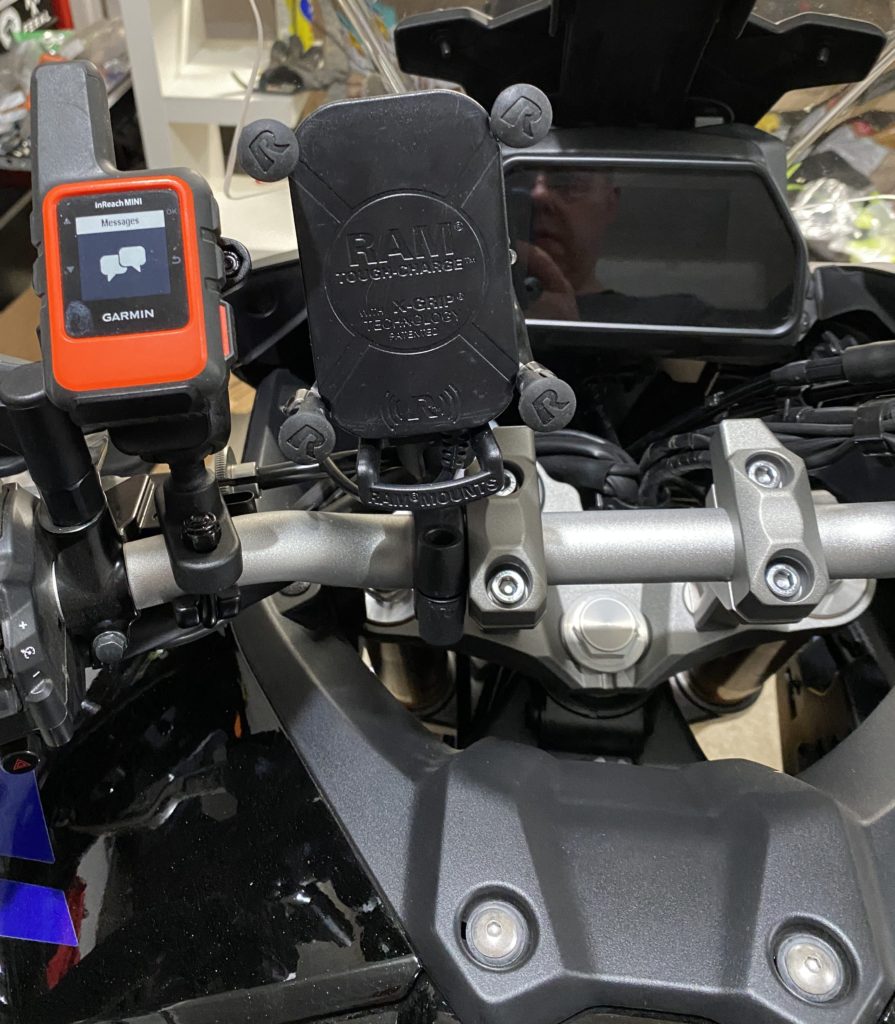
I recently added a brand new RAM Qi charging phone mount on my Yamaha Tracer 900 GT. The new RAM mount takes USB 5v or QuickCharge 3.0 9v, but plugs into a USB Type A port. I ordered a QC ready block but as I kind of expected it didnt seem like it will work well. The original needed an SAE connector, was too big, and was not waterproof. So I opened the box up and made it my own:

Source 12v to USB box 
Modeled the inner electronics with a 90Deg USB connector 
Final base cover model 
Case glued with Gorilla Glue (Tape/Clamp to keep pressure as it cures) 
Electronics fitted in a NylonG Case


I had a spare 90Deg USB Type A extender, so I did some careful set of measurements and modeled in FreeCAD what a case for it would look like. The result worked great on the 1st try. I printed the final case in NylonG (Glass filled Nylon) due to it being stable at high temps. This was printed light and thin to save on bulk.
I removed the power connector, cut the power switch off and soldered it to be on all the time (its switched by the bike), and wired in a new power wire that would plug into the Yamaha wiring harness.
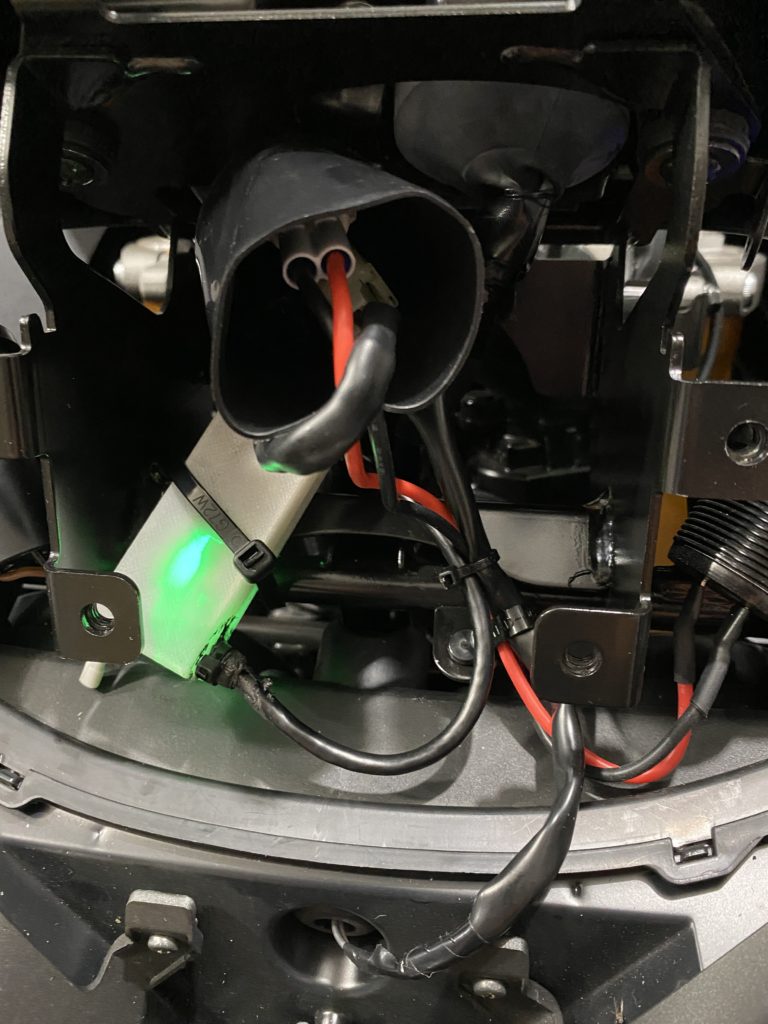
The final install under the dash on the motorcycle, you can see the green power LED from the charger coming through the NylonG. I used black RTV to seal the USB out, and used double wall adhesive shrink tube to seal the power input. This should be pretty waterproof even if it is in an area of the bike that should not get much water in it. Design time: 2hrs. Print time, 45 minutes.
K40 Laser Cutter Exhaust Parts
On my long list of projects, and hobbies, the new K40 laser cutter is being neglected as I am focused on getting infrastructure ready to spin it up. Part of that is getting the ducting and exhaust setup in place. The stock cutter comes with some bad ducting and a weak fan in the back. And due to where I have located the cutter, I need the exhaust to go 90Deg up out of the back. So I proceeded to print a 90Deg exhaust duct for a 4″ tube, and hangers for the ceiling to hold the ducting out of the way.

Hangers 
2 Piece Exhaust 
Hand for scale 
The Exhaust parts


I printed all the parts in Black Matterhackers Ryno (which is PETG… but under a different name… seriously not sure why its called something different). I printed the duct way to heavily and used almost 1/3 of a roll of Ryno. I am pretty sure I could drive over this thing and it wouldn’t damage it. Between the feet that hold the 3D printer on the washing machine stand its installed on, and these parts printed above that is an entire 750g roll of Ryno.
The rectangular part is an internal exhaust duct to give better use of the space in the cutter. It was printed fast and dirty as its hidden in the back of the cutting chamber.
I still need to get it all installed, and will have a write up on that at a later time. I am hoping with the long weekend I will get some good time in on calibrating the cutter.
Garden Sprayer covers
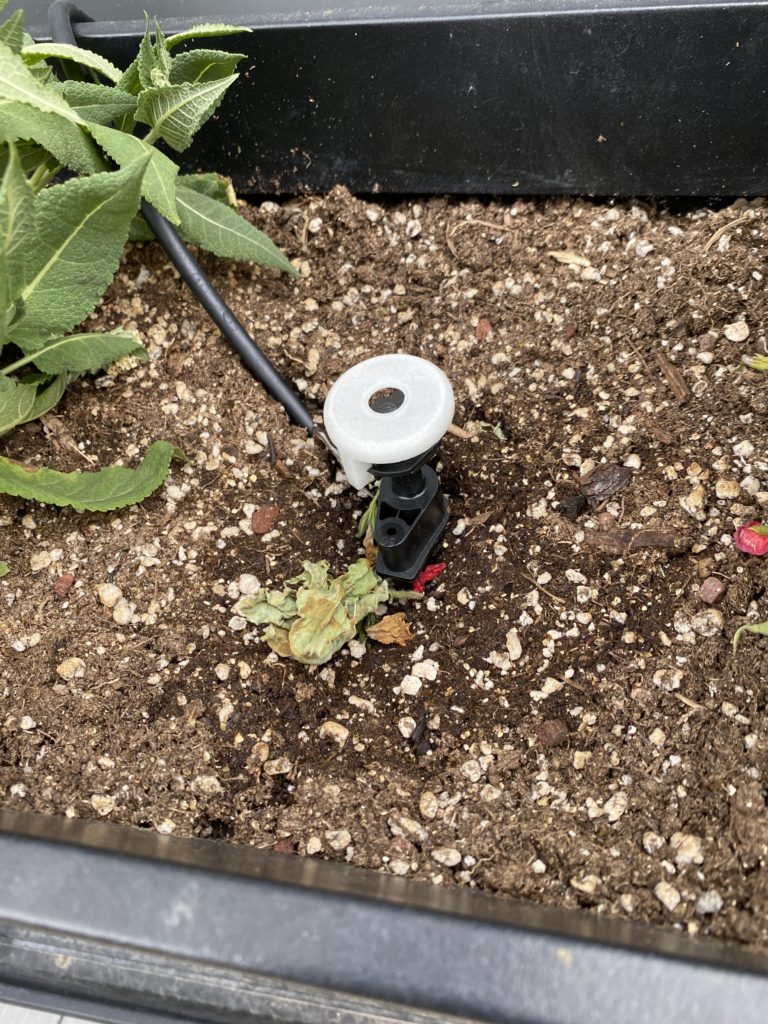
I posted about these sprayers about a year ago. One of the first things I printed on the my custom 3D printer was these covers in NylonX (CF Nylon). Well its gardening time again, so I made some new ones to replace ones that were damaged over the winter, I used up the last of a spool of NylonG I had to print as many as I could, which was 4. These redirect the water down toward the soil vs up and around. Works well to still get some spray around a wide area but also keep the water in the pots.
Printer Firmware updates/calibration
The controller for the 3D printer is a Duet2 Ethernet controller (with Duex 5 addon). In the last few months a major firmware update happened to RepRapFirmware 3. This has caused me to re-write the code that runs my printer from almost scratch as most of the commands changed and more features were enabled. This was a 6-8 hour process of taking code from the source, in one window and figuring out the new syntax on the other. Besides for making one pretty stunning coding mistake that drove the Z table at light speed (6x its normal max speed) everything went pretty well. RRF 3 brings with it conditionals and logic support in GCode which is crazy powerful.
One of the things I also worked with was Pressure Advance – which is an adaptable logic that the firmware uses to control bulging at corners and issues where speeds change rapidly. I took some sample GCode I found and edited it to do some calibration tests.

Test prints 
Clean cube after


The test Gcode ran through different levels of PA to find the sweet spot for the extruder. The pic above shows the progression of my testing.
- Top has no PA enabled.
- Test GCode going through a big sweep of PA settings.
- Edited Gcode down to what I thought was a sweet spot
- Additional edited code to gut check it a little lower.
I ended up on my Titan Aero at .076 Pressure Advance setting and the results are dramatic. The test cube I printed came out stunningly well (even for a few other settings not being right on that print). I never wanted to touch pressure advance before because it seemed daunting, but wow its made a dramatic change in print quality.
Up Next:
Next up on my hobby agenda is to finish enclosing the 3D printer this weekend, Get the K40 laser fired up and aligned, and work on cleaning up the remaining design files for the 3D printer so I can get them listed on my website or thingiverse.
For those in the US, have a happy long weekend (memorial day)!