Printing to the point of failure
About a week ago in the middle of printing ~ 800 more ear savers, the printer made one helluva racket and the U Axis stopped moving. I immediately knew what the issue was as it only happened when the Y axis was in a certain position – a broken wire. Below if a video of me testing.
I moved the printer to the Y axis position where it failed, and I could not get the U axis to move without a grinding noise. Moved it back away from that Y axis position and it moved fine. I knew I used not optimal wires in the cable chains initially and was planning to replace them, but it turns out printing KM’s worth of filament over a 1.5 month period really pushed it to the breaking point.
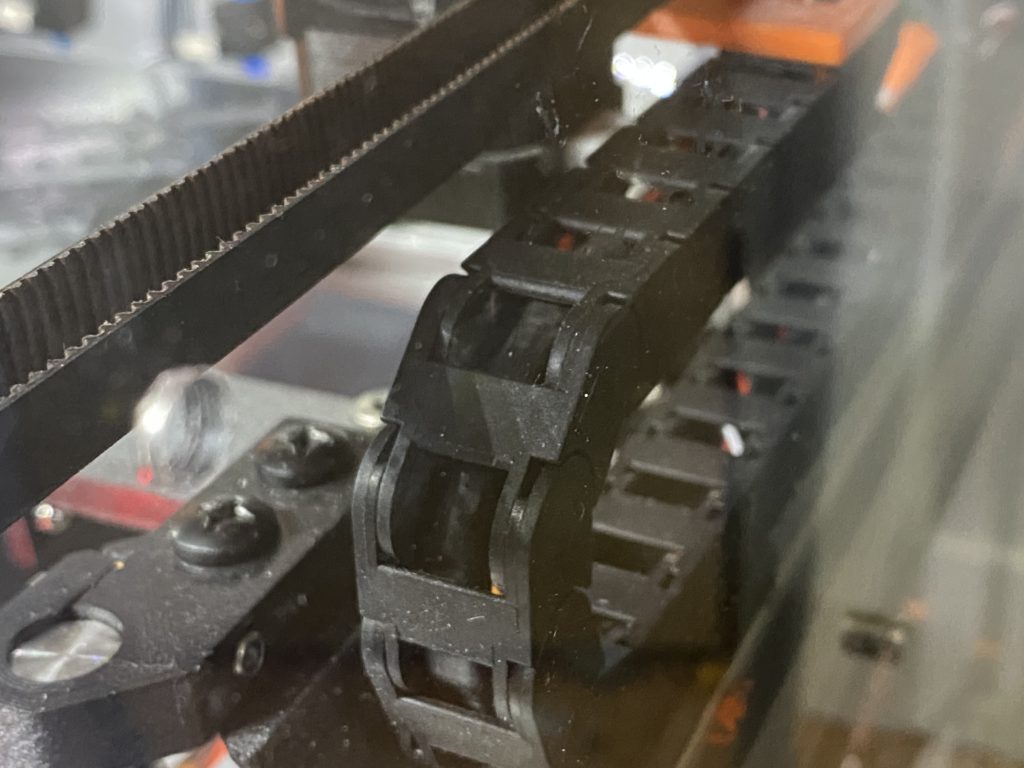
The cable chain in question. there is one on the X and U axis side both wired the same.
The original wires that failed were the stock cables that came from E3D with the steppers I ordered. These are normal PVC wrapped wires in a sleeve. Now the sleeve did well protecting the wires, but one wire inside just snapped. So I did some reading about proper cable chain grade wires and learned a few things.
- Wires for cable chains are generally made out of higher abrasion resistant materials like Silicone or TPU
- They are higher strand count for greater flexibility and less stress on the individual strands in the wires
- They are normally shielded for strength and have a cotton or paper wrapper around the shielding that lets the outter wrapper have some movement with the shielded parts.
So I went to Digikey and looked up some wire specs. I settled on this brand:
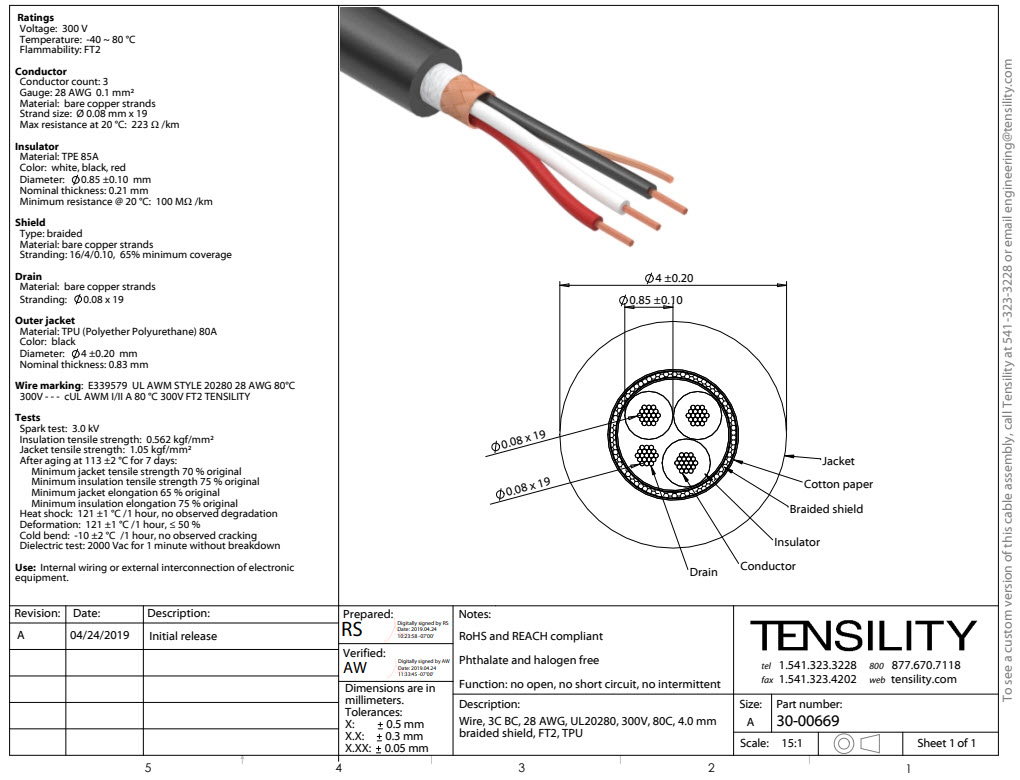
Because Digikey was short on these spec of wires I had to deal with just having the shielded TPU clad portions in the cable chain and then cheaper wires after that. These were not cheap cables, and each cable chain had ~ 2ft of 2x 3 conductor 28ga wires (For end stops and LED), and one 4 conductor 24ga wire for the stepper. I could have run a single small 6 conductor 28ga for the Endstops and LED, but I didn’t want to risk a short in the wire over time of a 12V LED run shorting to a 3.3v endstop as that would blow the controller board.
PVC vs TPU is night and day difference in terms of abrasion resistance. Where PVC clad wire is pretty easy to strip, TPU is a pain. I had to use a razor blade to strip the TPU wire to the shielding, where I could almost use a dull butter knife on the PVC.


One other task I took was to make the wiring modular. If a wire fails in the future I can simply pull it and replace that segment. Everything is connected with 3 and 4 position Molex Micro-Fit 3.0 connections. Which are my favorite connections to deal with! Everything was crimped in this, I didn’t need to break out a soldering iron once which was nice!
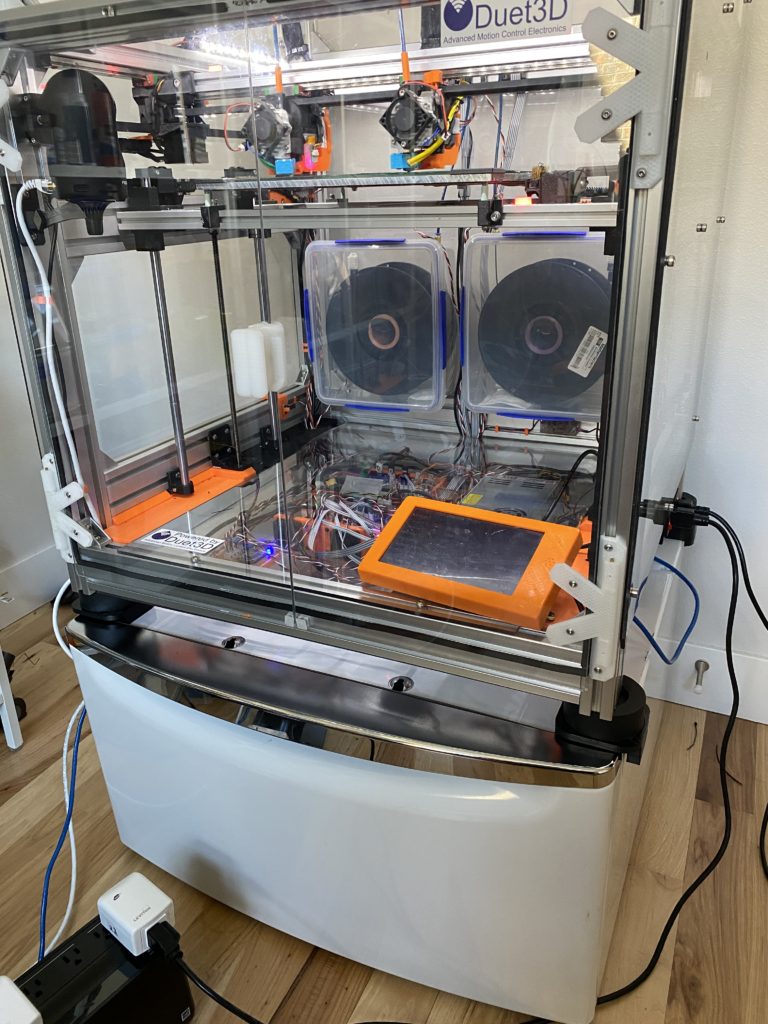
Doing this repair work let me also clean up a bunch of bulk extra wire that was in the printer from my earlier building of it.

Before 
After


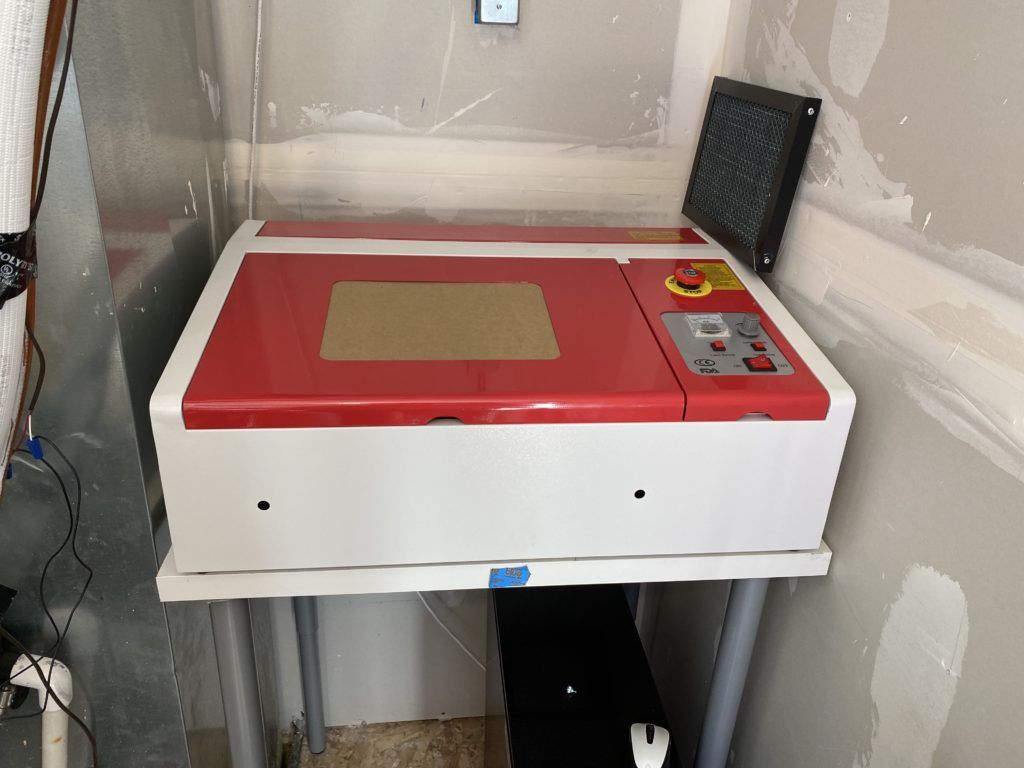
Once that was done I was almost back in business, but this down time gave me an opportunity to do a big change I’ve been wanting to do on the printer. That is get it off the floor!
Raising up the Printer
My 3D printer design made it almost exactly the size of a normal front loading washing machine. So that gave me the idea – an easy way to get it off the floor is to find a cheap washing machine pedestal. I found one on Craigslist that was cheap and 15″ tall.
While the pritner did fit on the stand, I wanted to be sure it was stable, and also let me continue to use anti-vibration feet. So I designed up a set of foot pads to keep the printer well set on the stand.


I printed these in MatterHackers Ryno that I had laying around ( I am seriously low on non engineering grade filament right now as I’ve used everything I have for the COVID PPE printing) and it seems to work very good with this. Ryno is just a slight tweak on normal PETG, but its not clear exactly what the difference is. I just anchored it on the printer with some extra 8mm bolts I had and was good to go! No revisions, it worked first try.
The next big change to the printer is finishing the enclosure. I just the aluminum extrusions for that but need to design the hinges and Polycarbonate sizes to enclose it.
Wrapping up COVID PPE – for now.
I just exhausted the 2 1KG spools of PETG I started printing with a week or so ago. Total output as best as I can figure counting the successful event log entries on the printer is ~ 1600 ear savers printed, ~175 Face Shield halos. This was from 6KG of PETG filament in 1.5 months which is ~2 KM in filament if you strung it out in a line. All donated to the cause free of charge to the people who want them. I did get a handful of generous donations by friends and family toward materials for all of this printing and I am very thankful for that.
I am exciting to take a break from PPE printing and move into printing components and parts for some DIY projects at home my wife and I are working on. Eventually I want to get back to printing and working on some model rocked projects as well.
Up next for me is redoing my office where the printer resides and I work all day long.